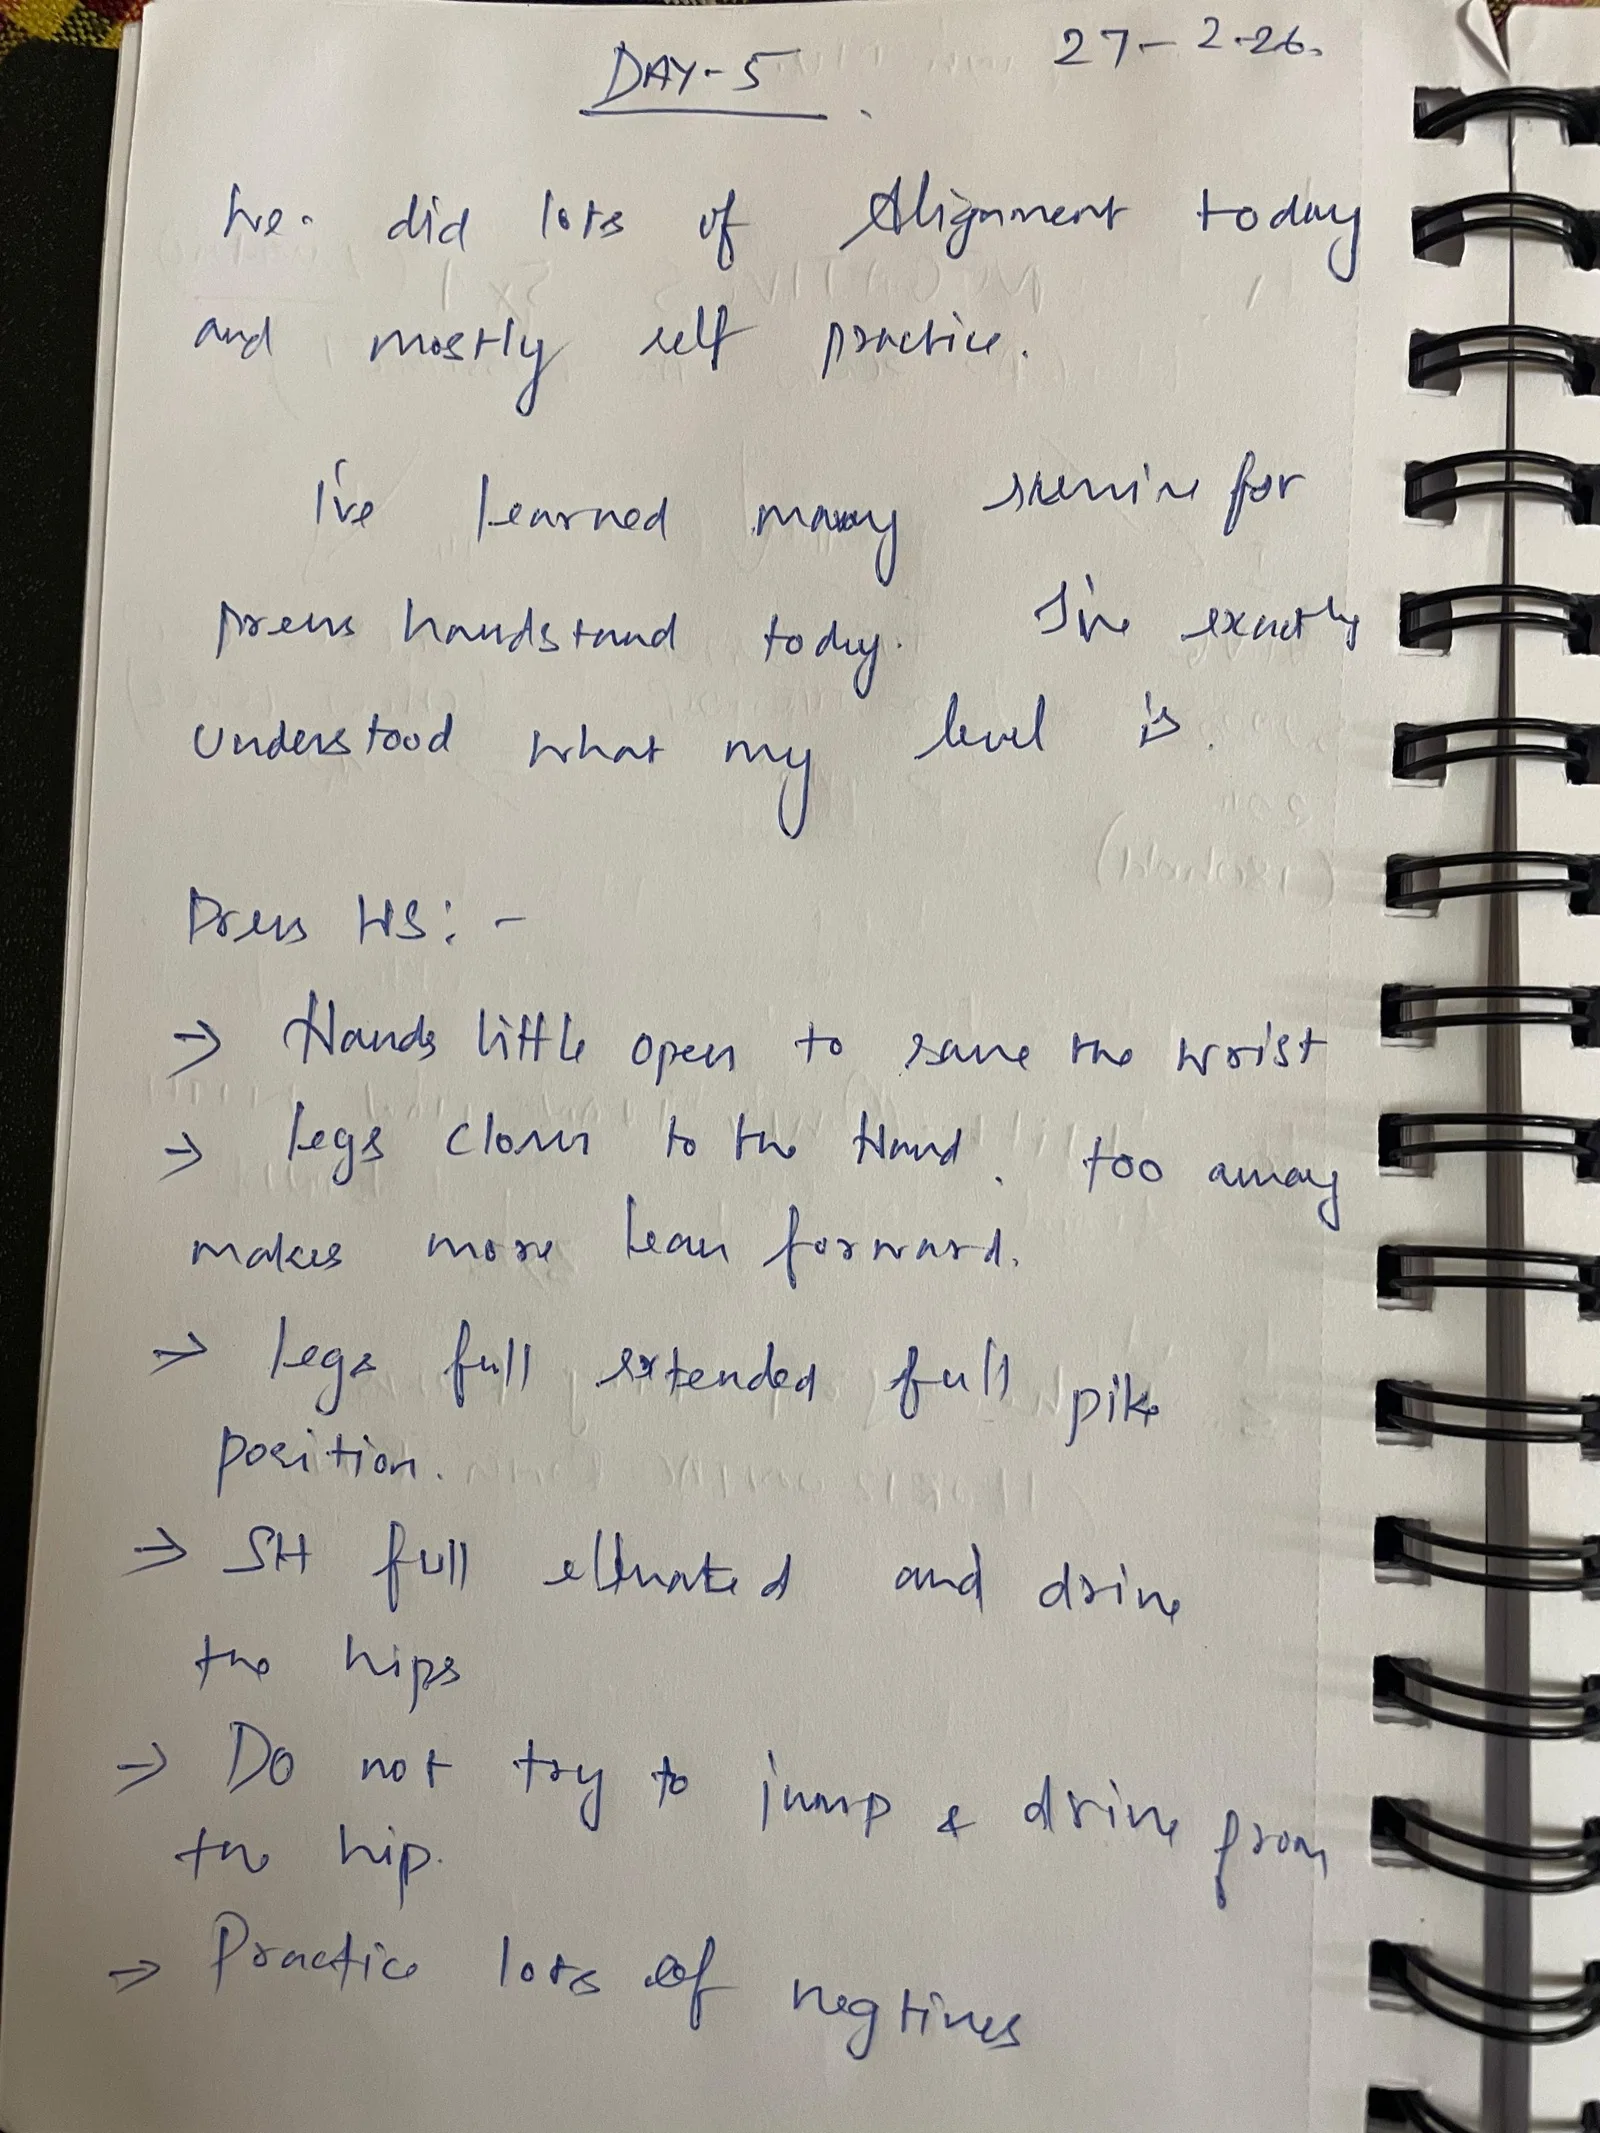
Yuval's Core Principles
Straight legs.
Belly in.
Ribs in.
Gentle pelvic tilt.

The better the handstand
the less the sore and stiffness.
Koh Phangan, Thailand · Yuval Ayalon · January 2026
Handwritten notes taken by Dinesh during our 5-day handstand intensive retreat with coach Yuval Ayalon. Transcribed below alongside the original manuscript pages.
Straight legs. Belly in. Ribs in. Gentle pelvic tilt. The better the handstand the less the sore and stiffness.
Started with introduction and
then the preparation.

JOINT PREPARATION:
  1. Neck
  2. Wrist (upper, clockwise & anti-clockwise),
     Finger dorsiflex/on/the flex and
     on the chest like variation
  3. Spinal flexion and extension.

ALIGNMENT: NON BALANCE EXERCISES:

1. Standing (back on wall)
   → Feet together
   → Knees lockout
   → PPT (Gentle pelvic tilt)
   → Belly in, Ribs open
   → Shoulder elevated and stacked (Maintained)
   ★ Touching lower back on a wall is
aligned level gymnast position. 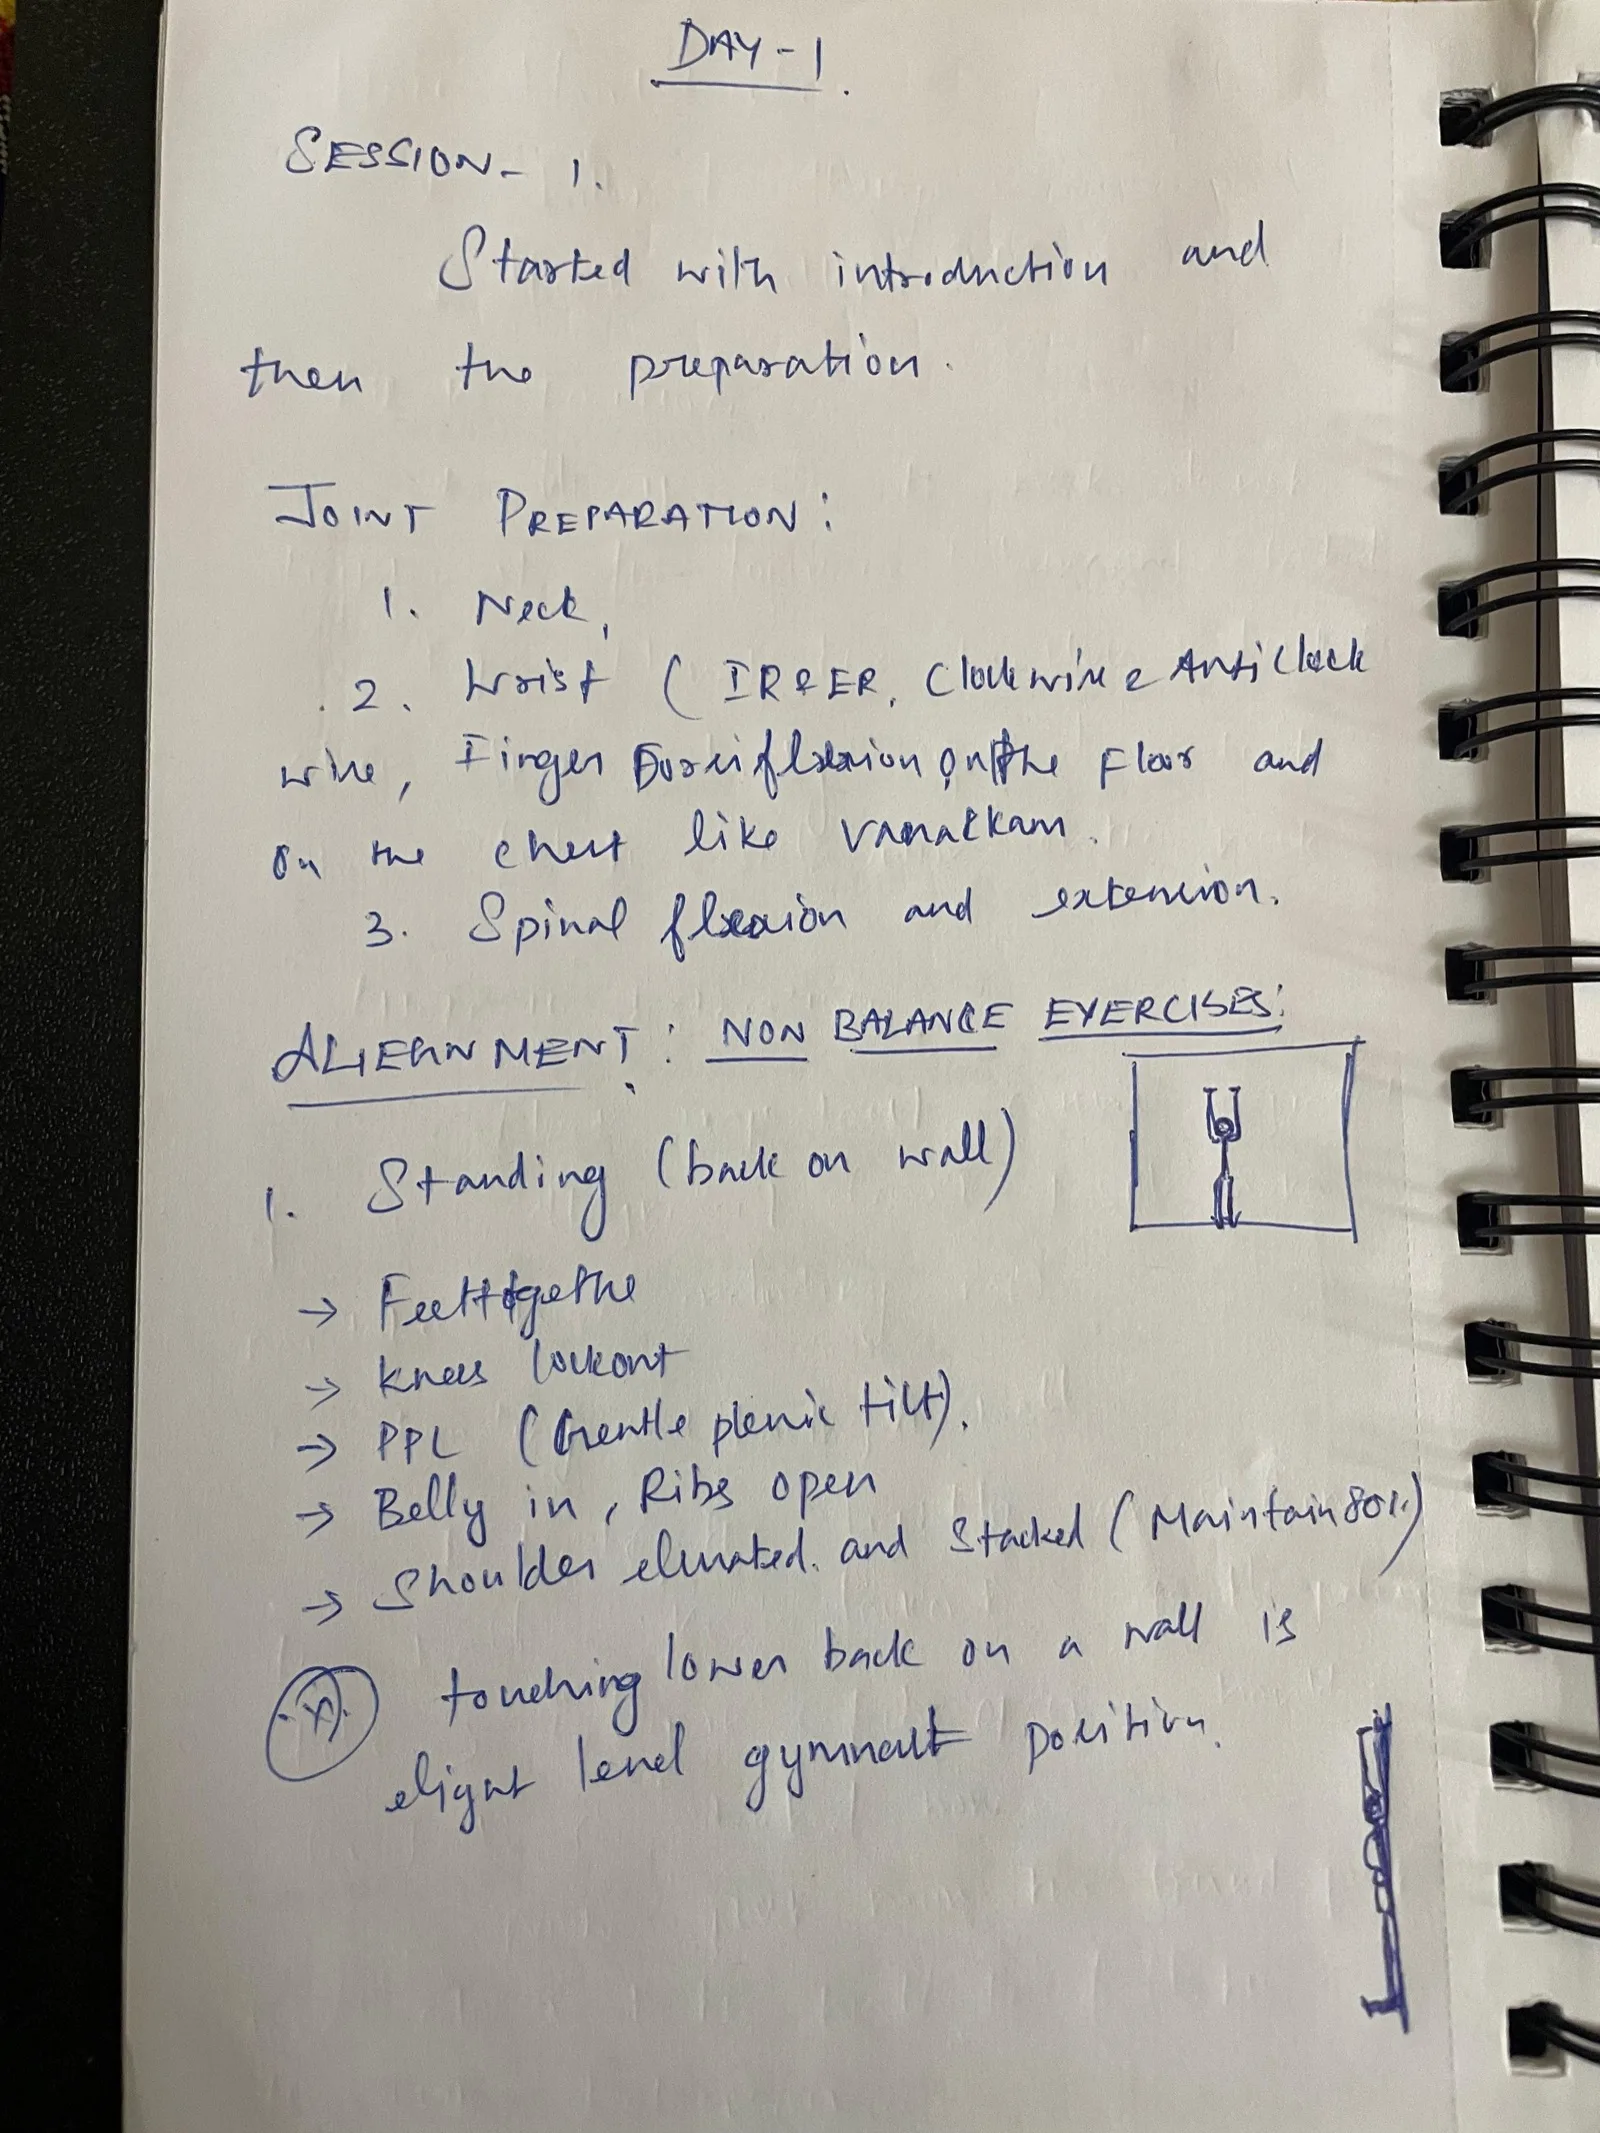
2. Facing the wall
   → Stand facing the wall
   → Feet together (toe touch the wall)
   → Knees lockout
   → Pelvic tilt
   → Belly in, Ribs open
   → Shoulder elevated & stacked
   → Finger Piano extended

3. On the Floor:
   → Lying belly on the floor
   → Toes pointed and together
   → Knees together lockout (not the highest)
   → Knee caps off the floor: then you tilted
   → If the knees bend then you tilted
     too much
   → Pelvic tilt: belly off from the floor
   → Floating ribs / belly off from the floor
   → Keep the SH elevated and open
→ Finger Piano Position 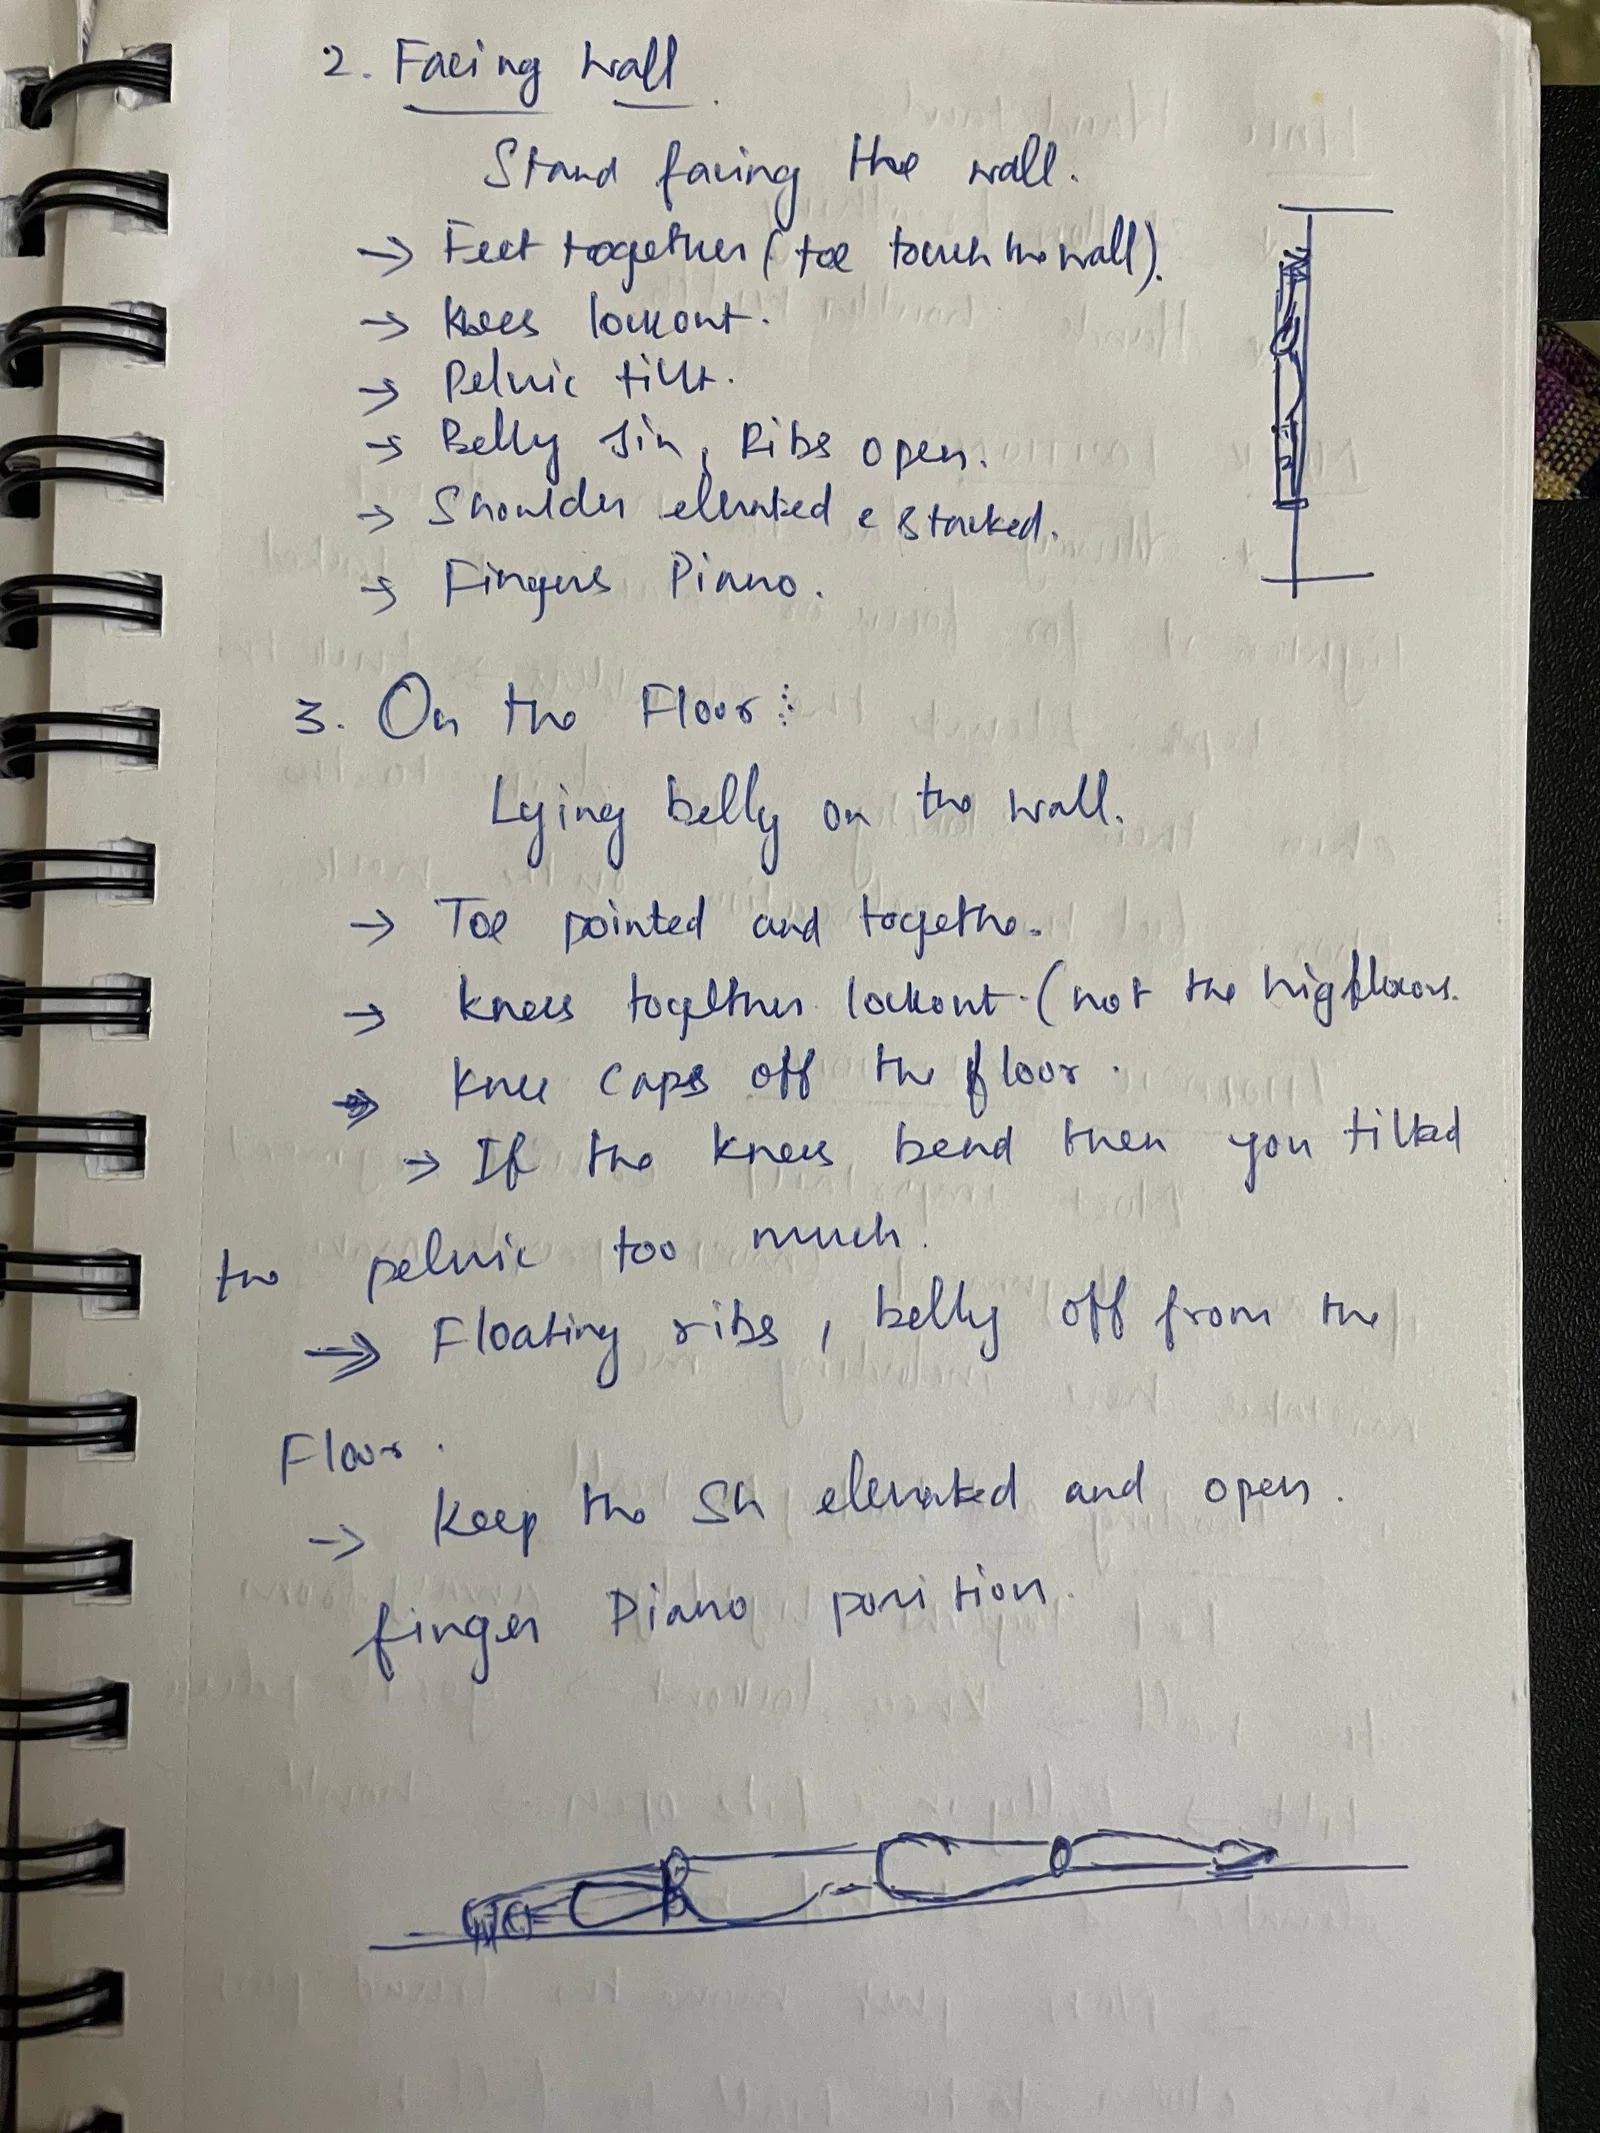
Preparation: neck, wrist (multiple rotation)
spinal, flexion

Alignment:
  Non-Balance Exercises:
    Standing → Back on Wall

  ★ 1. Shoulder Shrugs
    2. Facing wall, toes touch the wall
    3. On the floor
    4. Wall handstand
       (Shallow breathing)
       (Hands shoulder width)
    5. Thoracic Extension
    6. Neck Relaxation. Neck related.
       Handstand: do not tighten eyes
    7. Micro balance (multiple forms) and
       Small tuck (for feel the same)
    8. Retreat
       ★ 3 hand positions (facing wall)
    9. Handstand shrugs — behind and pull
10. (continued) 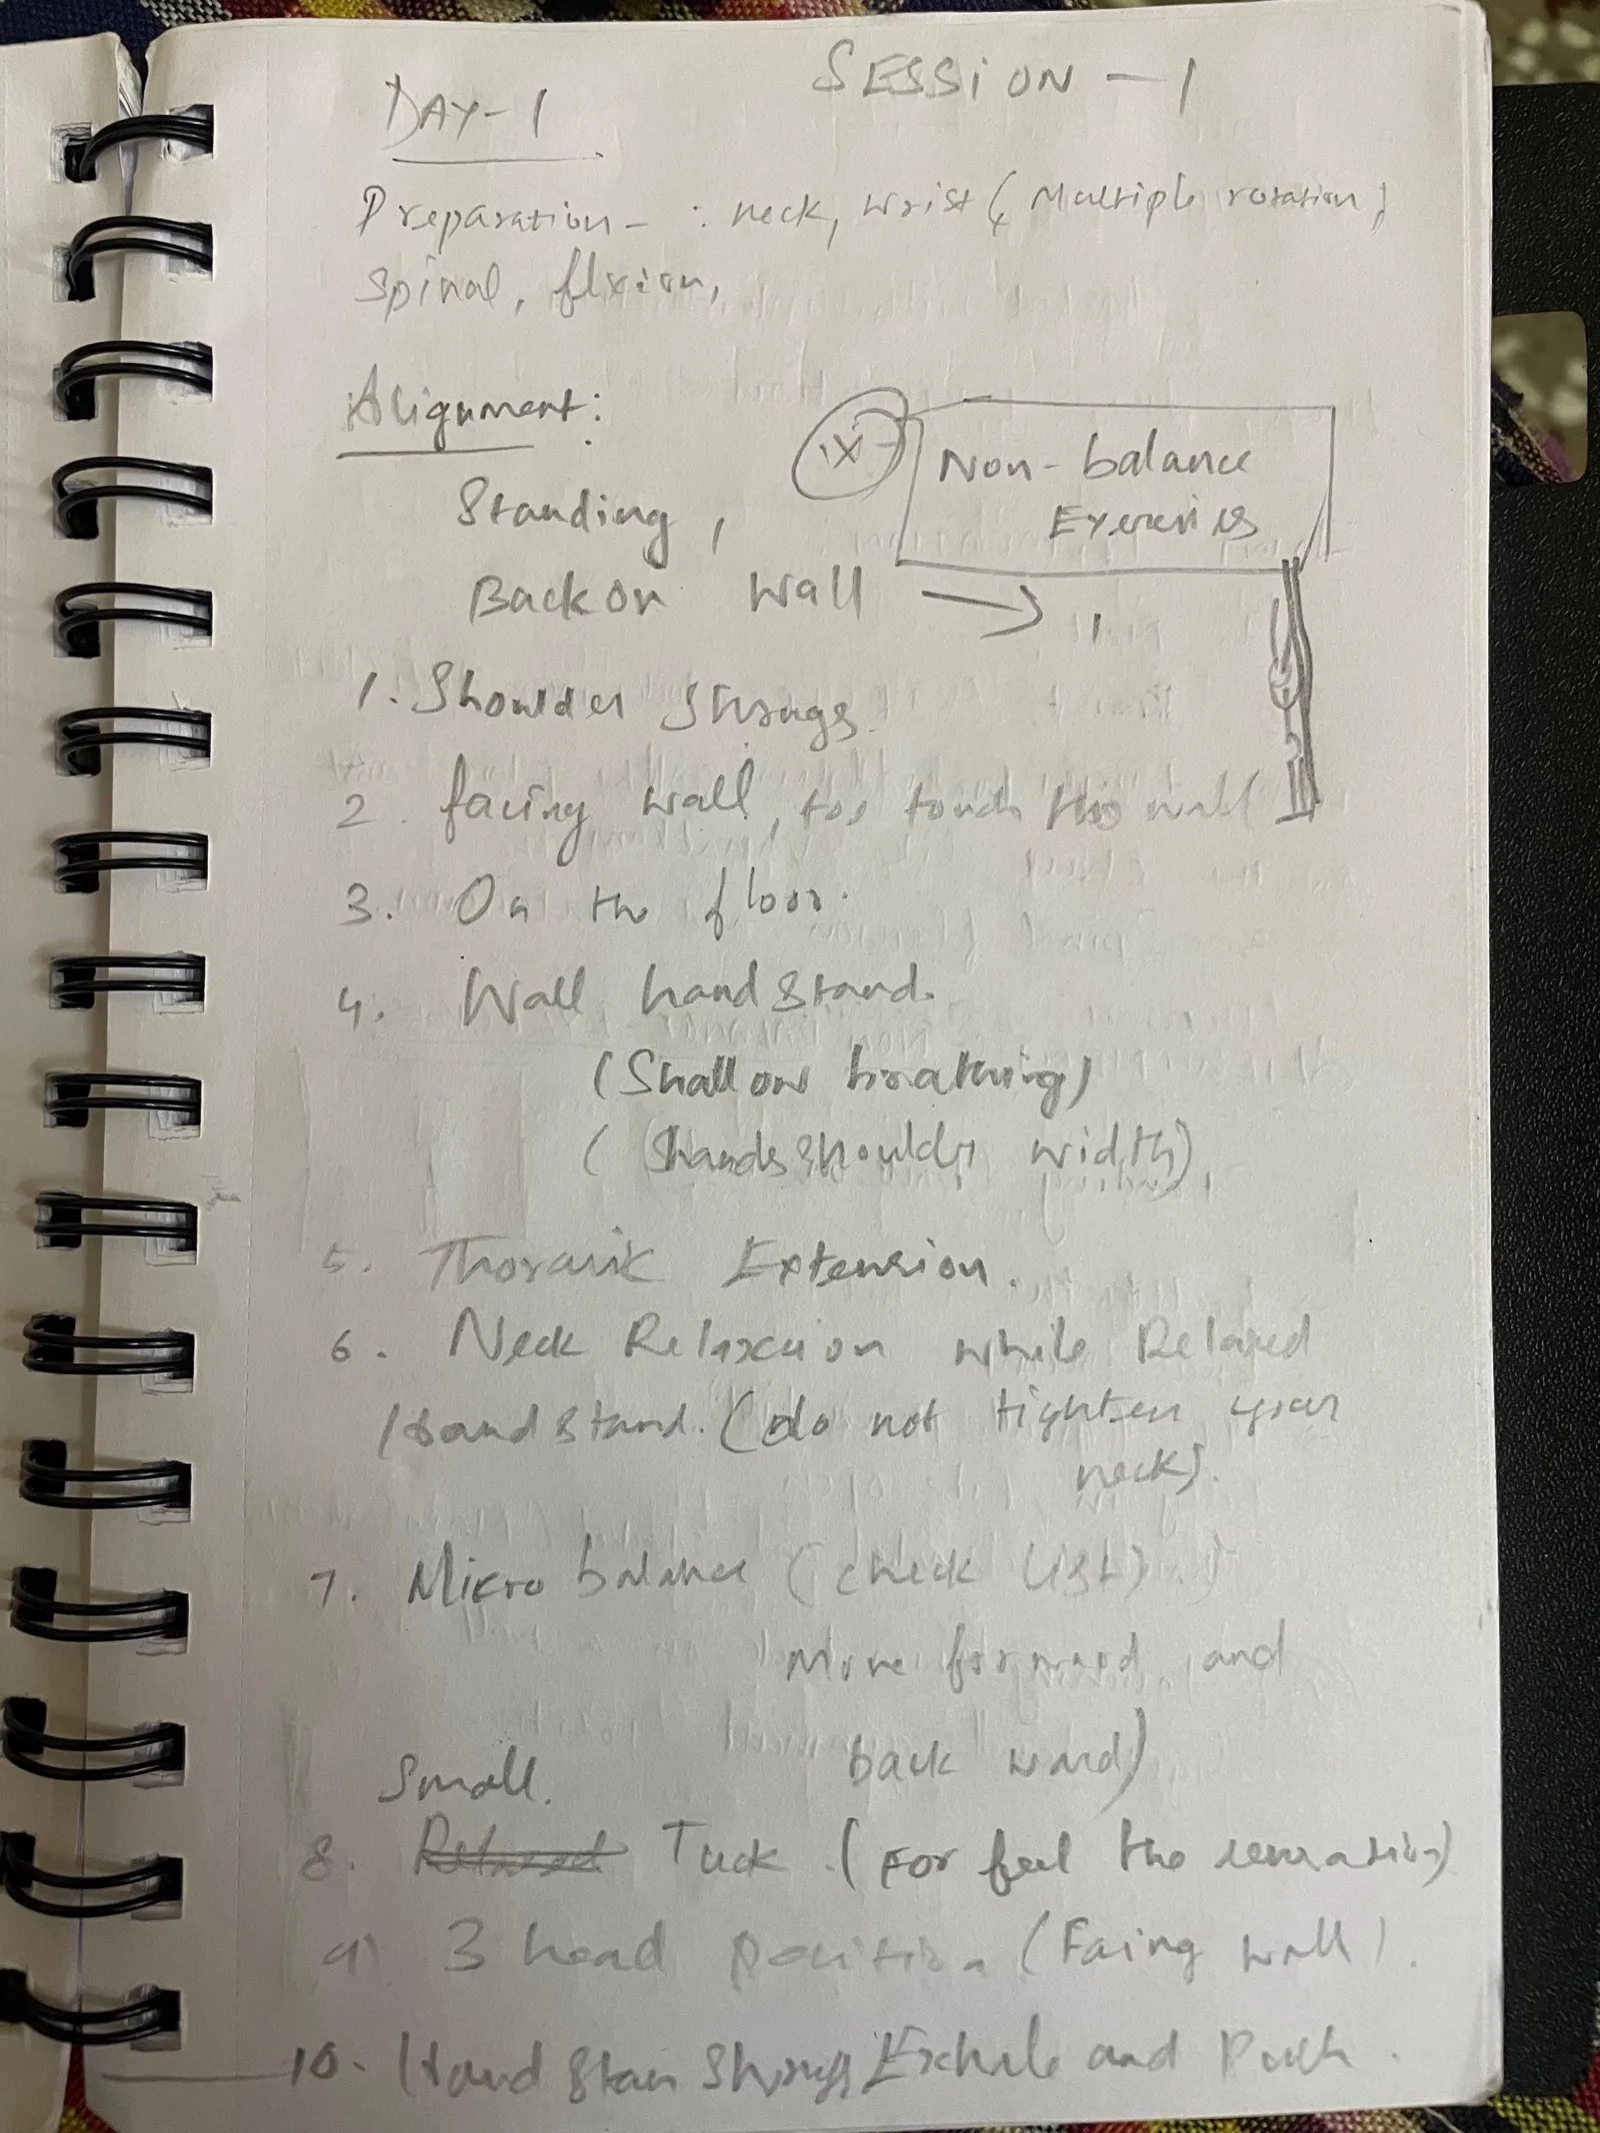
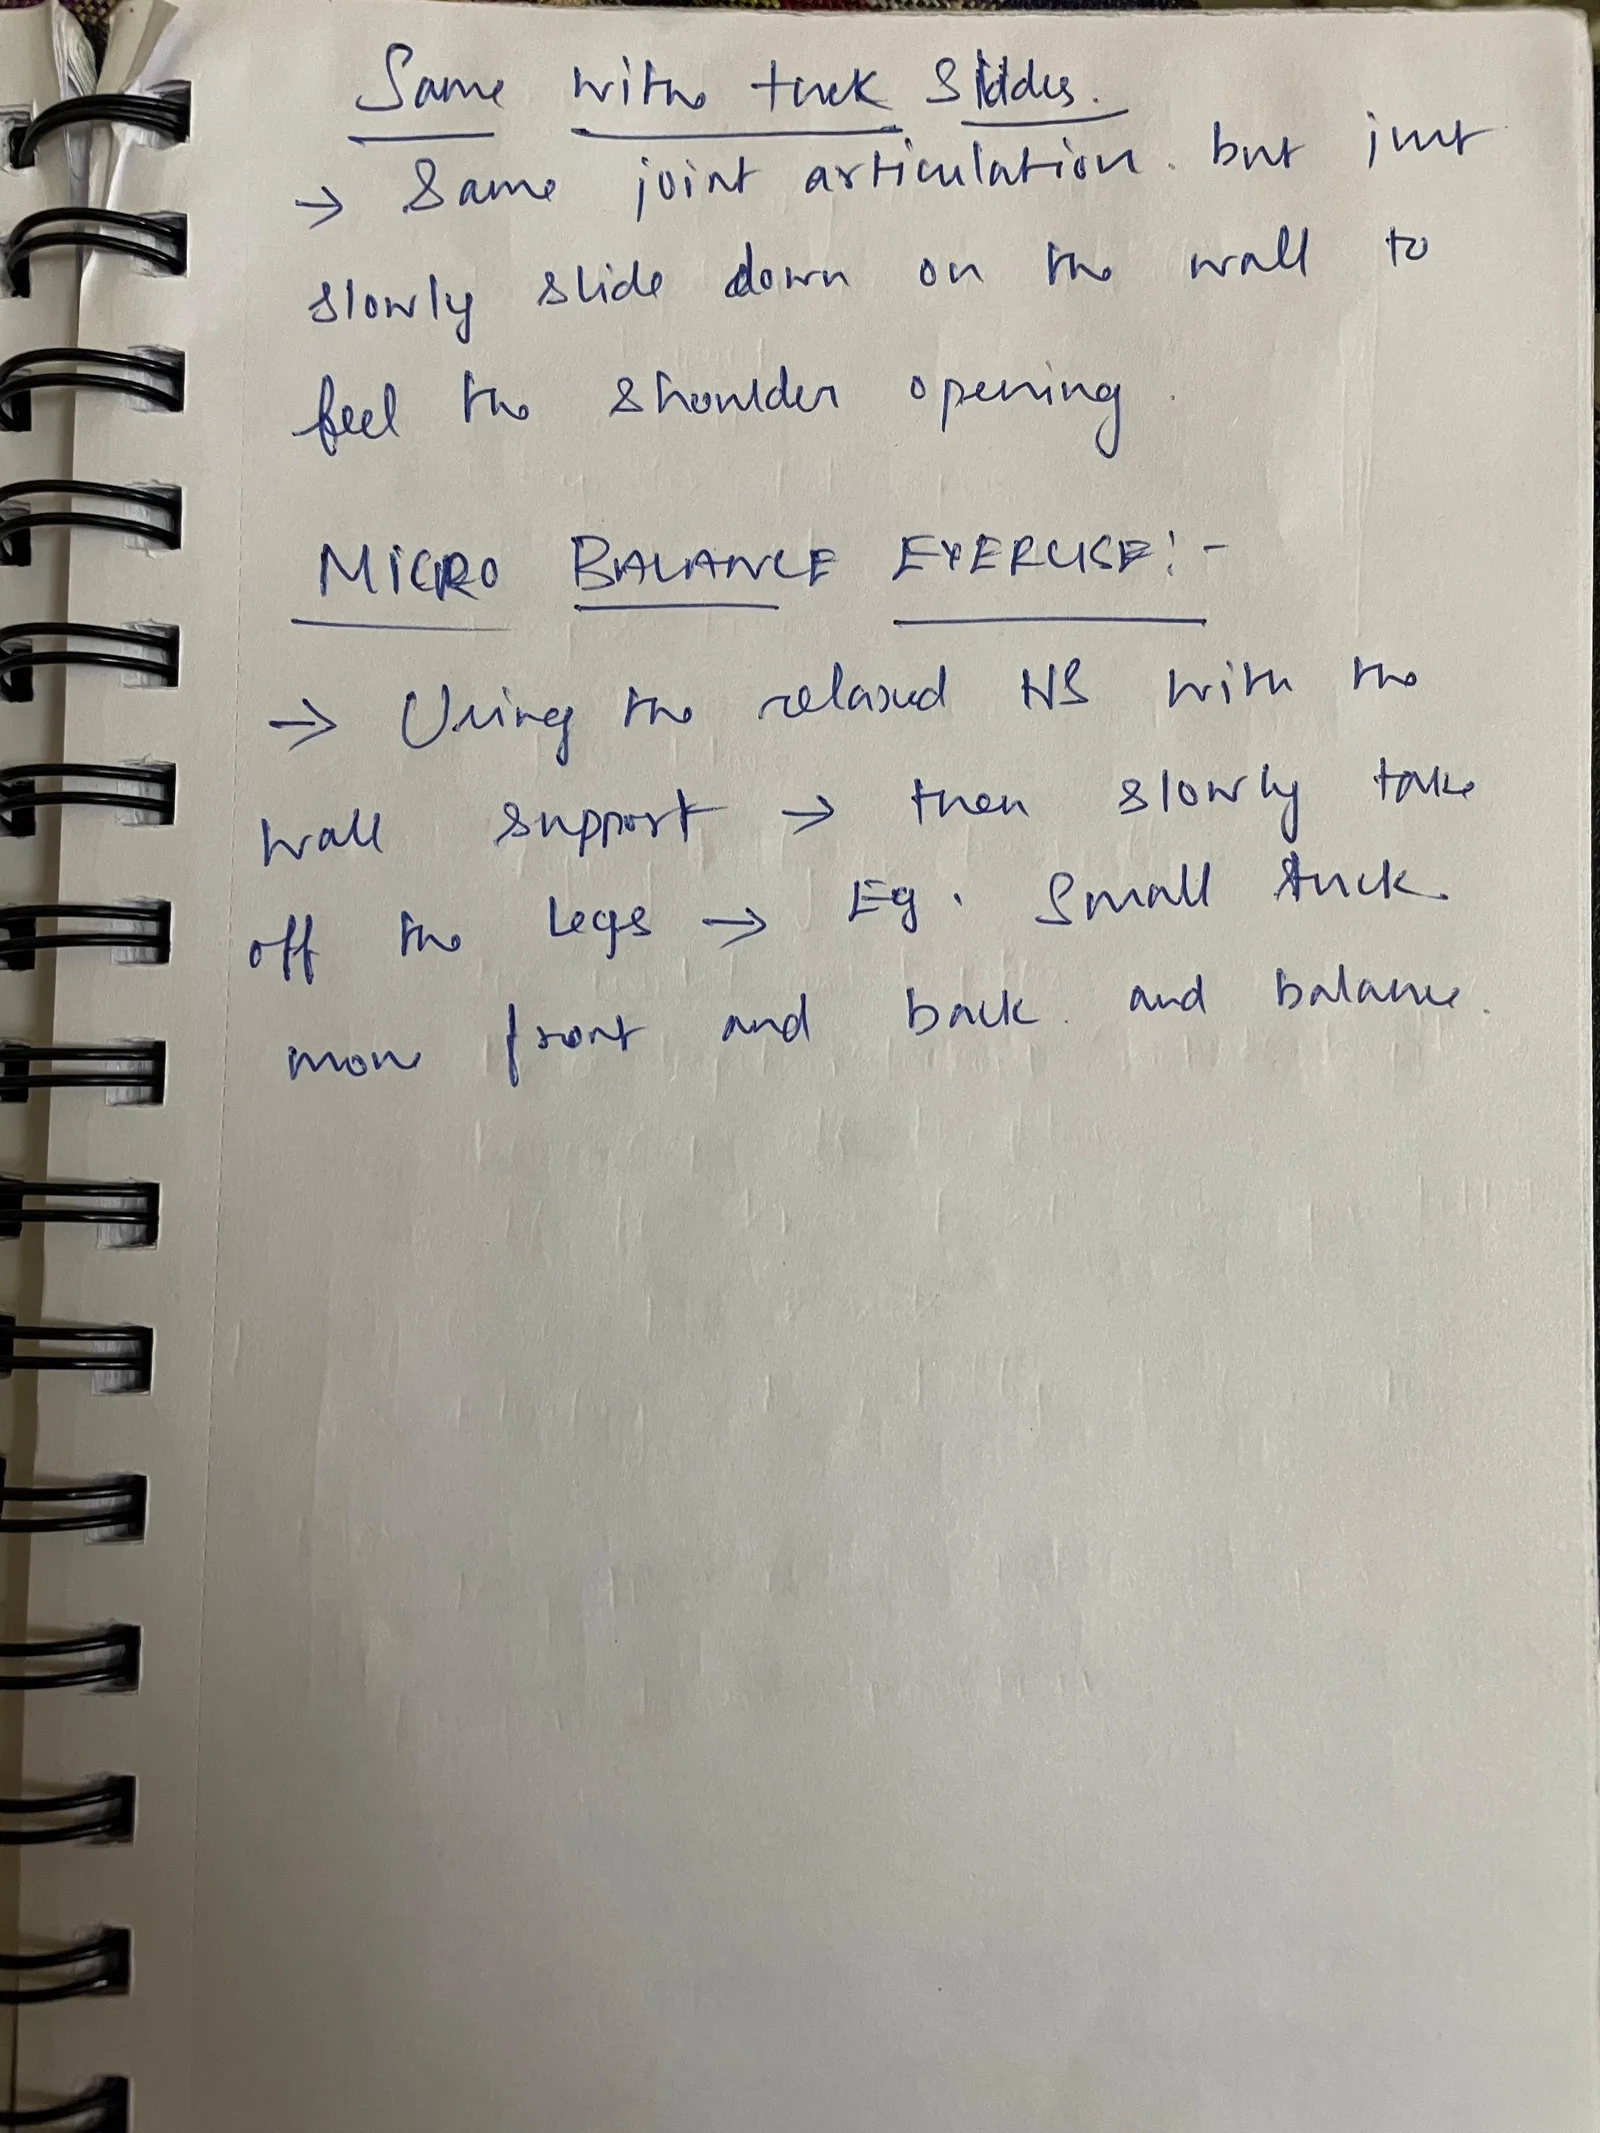
Same with tuck slides
→ Same joint articulation, but just
  slowly slide down on the wall to
  feel the shoulder opening.

MICRO BALANCE EXERCISE:

→ Using the relaxed HS with the
  wall support → then slowly take
  off the legs → e.g. small tuck.

  and balance
  move front and back.
1. Preparation → Prehab
   → Wrist conditioning

2. Relaxed HS Non-balance Exercise
   → Moving forward and backward
   → Using wall raking the hip
     on the wall to open SH

3. Straddle — Open (L shape)
   Hip has to go back.
   ★ Keep knee straight (forward)

   Freestanding (Relaxed HS)
   Changing body direction → both slowly

4. Tuck Handstand:
   Use hand to drive the hip
   to the wall → slowly tuck
take one by one. 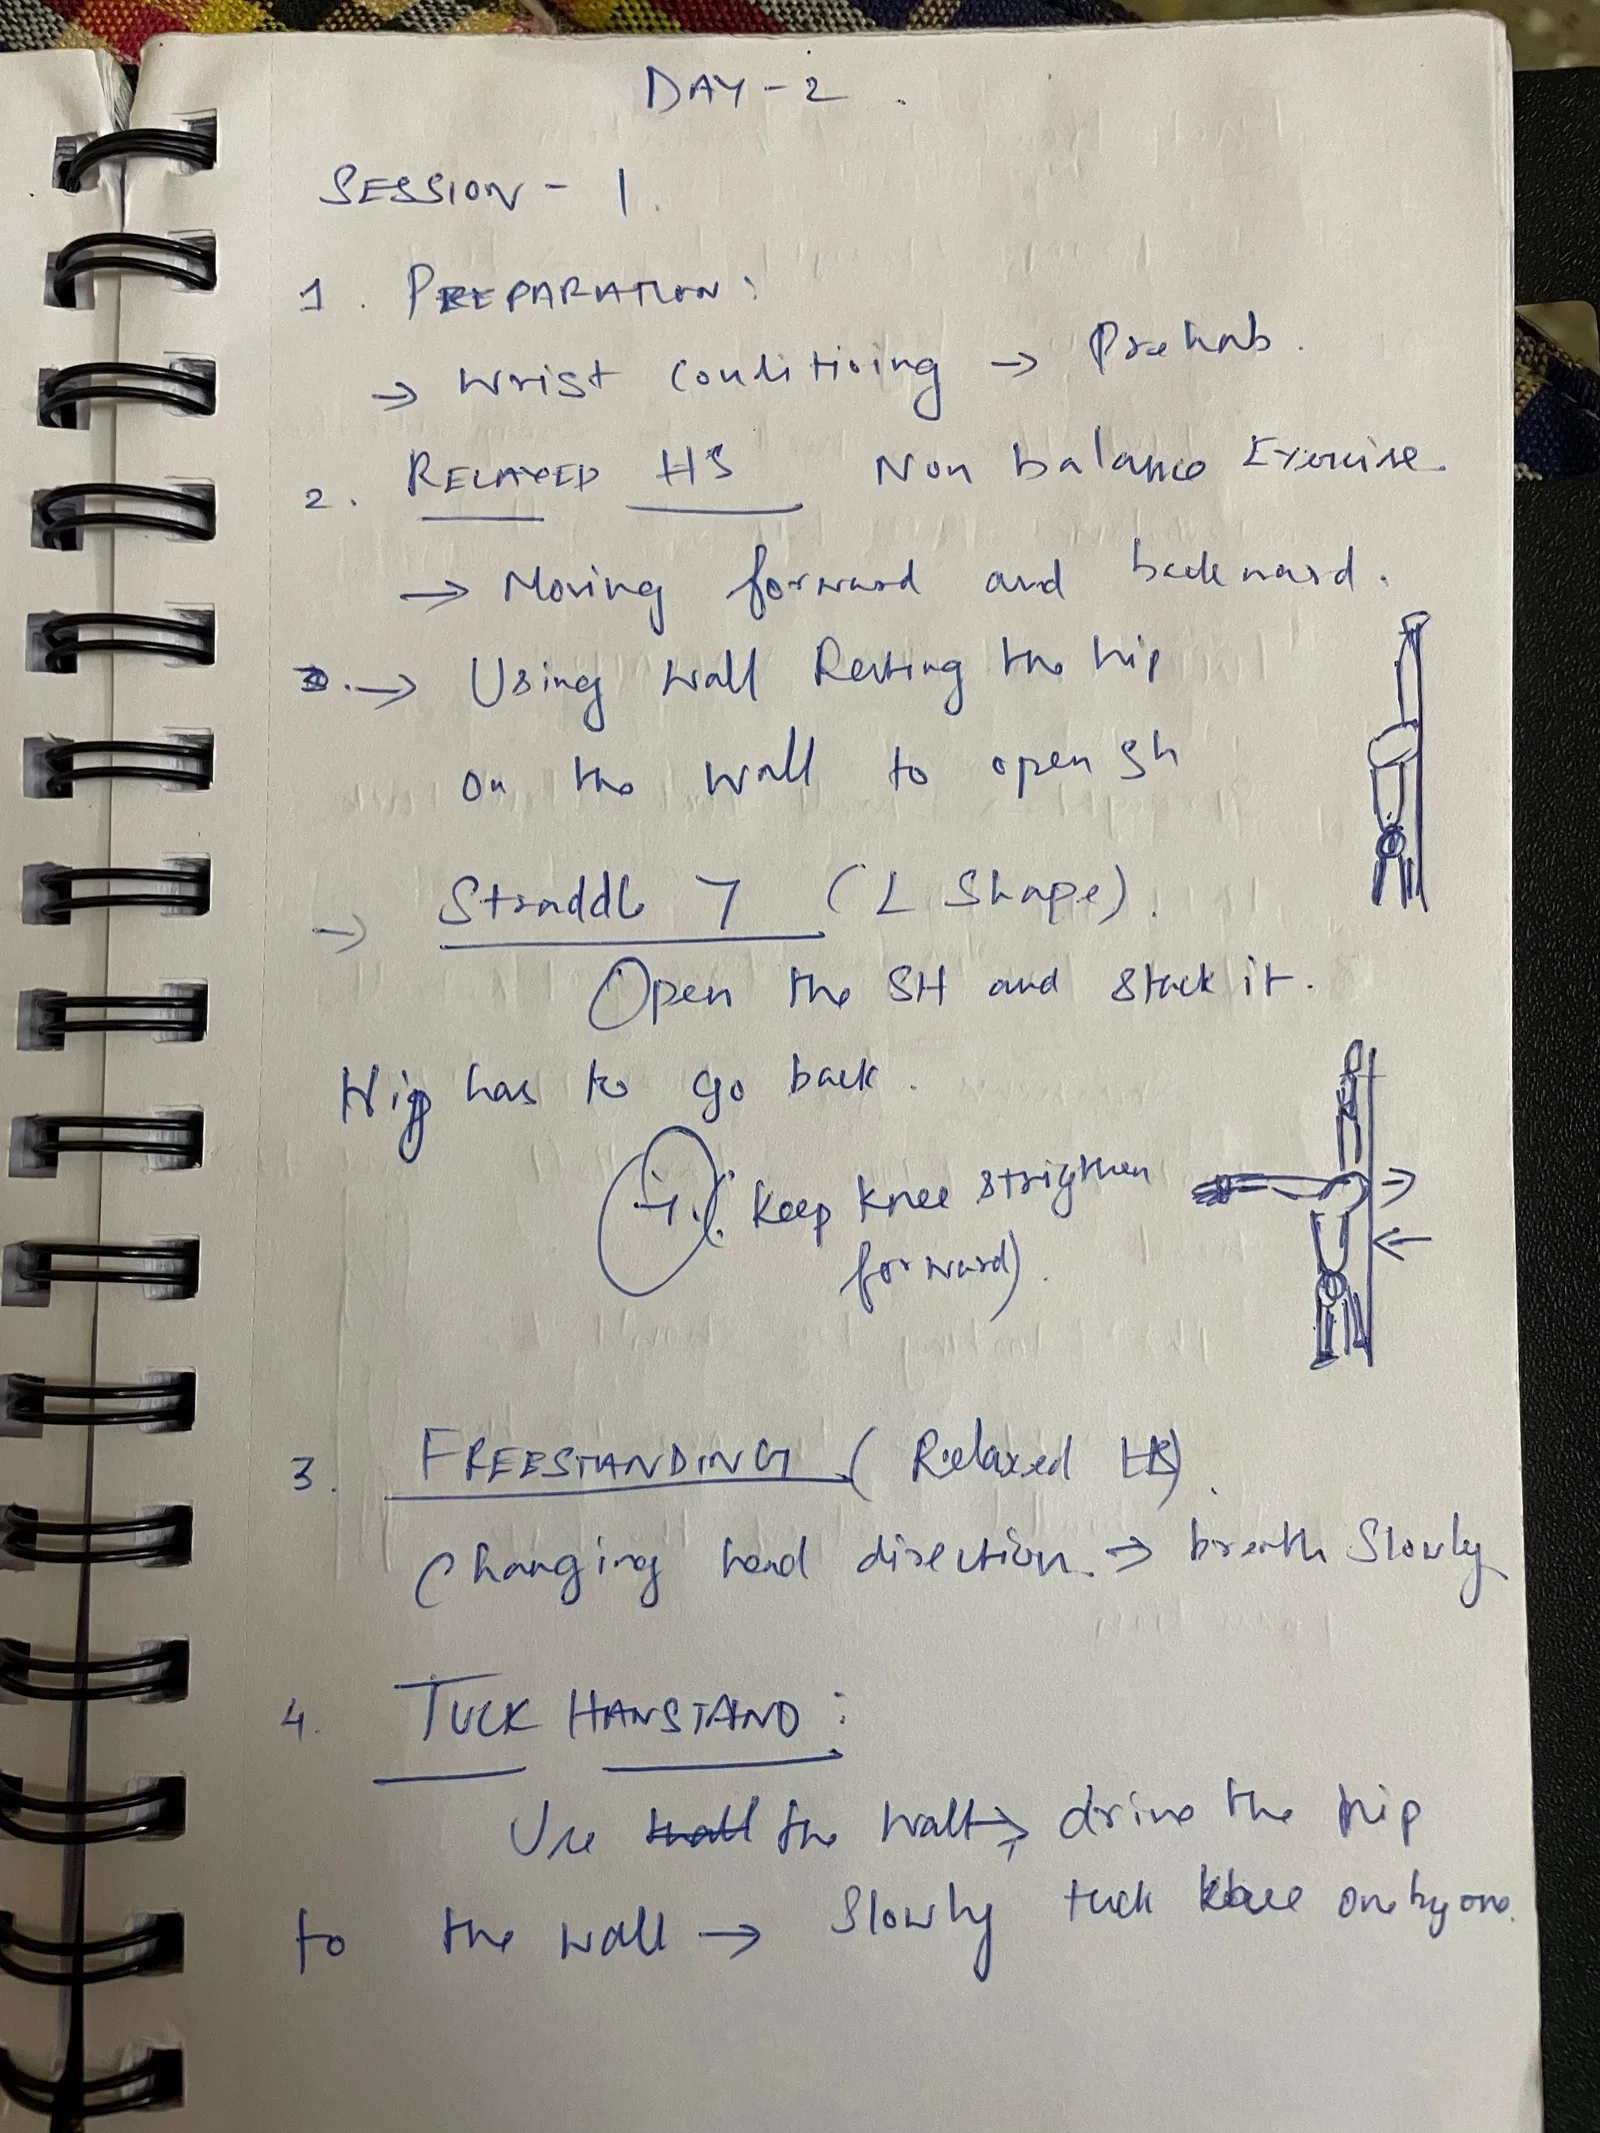
Wall Handstand:
  # Shallow breathing
  # Hands shoulder width

Neck Position: always relax the neck.
Do not tighten it for forms or balance
and stacked.

Steps: Elevate the shoulders → tuck the
chin then & only eyes down to the floor.
Feel the pulsation in the neck.

THORACIC EXTENSION:
Most important spinal segment of an
alignment (most people make mistakes
here, including me)

1. Standing and facing the wall
   → Feet → Knees lockout → gentle
     pelvic tilt → Belly in & Ribs open
     → Shoulder elevated & stacked
   → Now no front part → move closer
     to the wall to feel the thoracic
extension 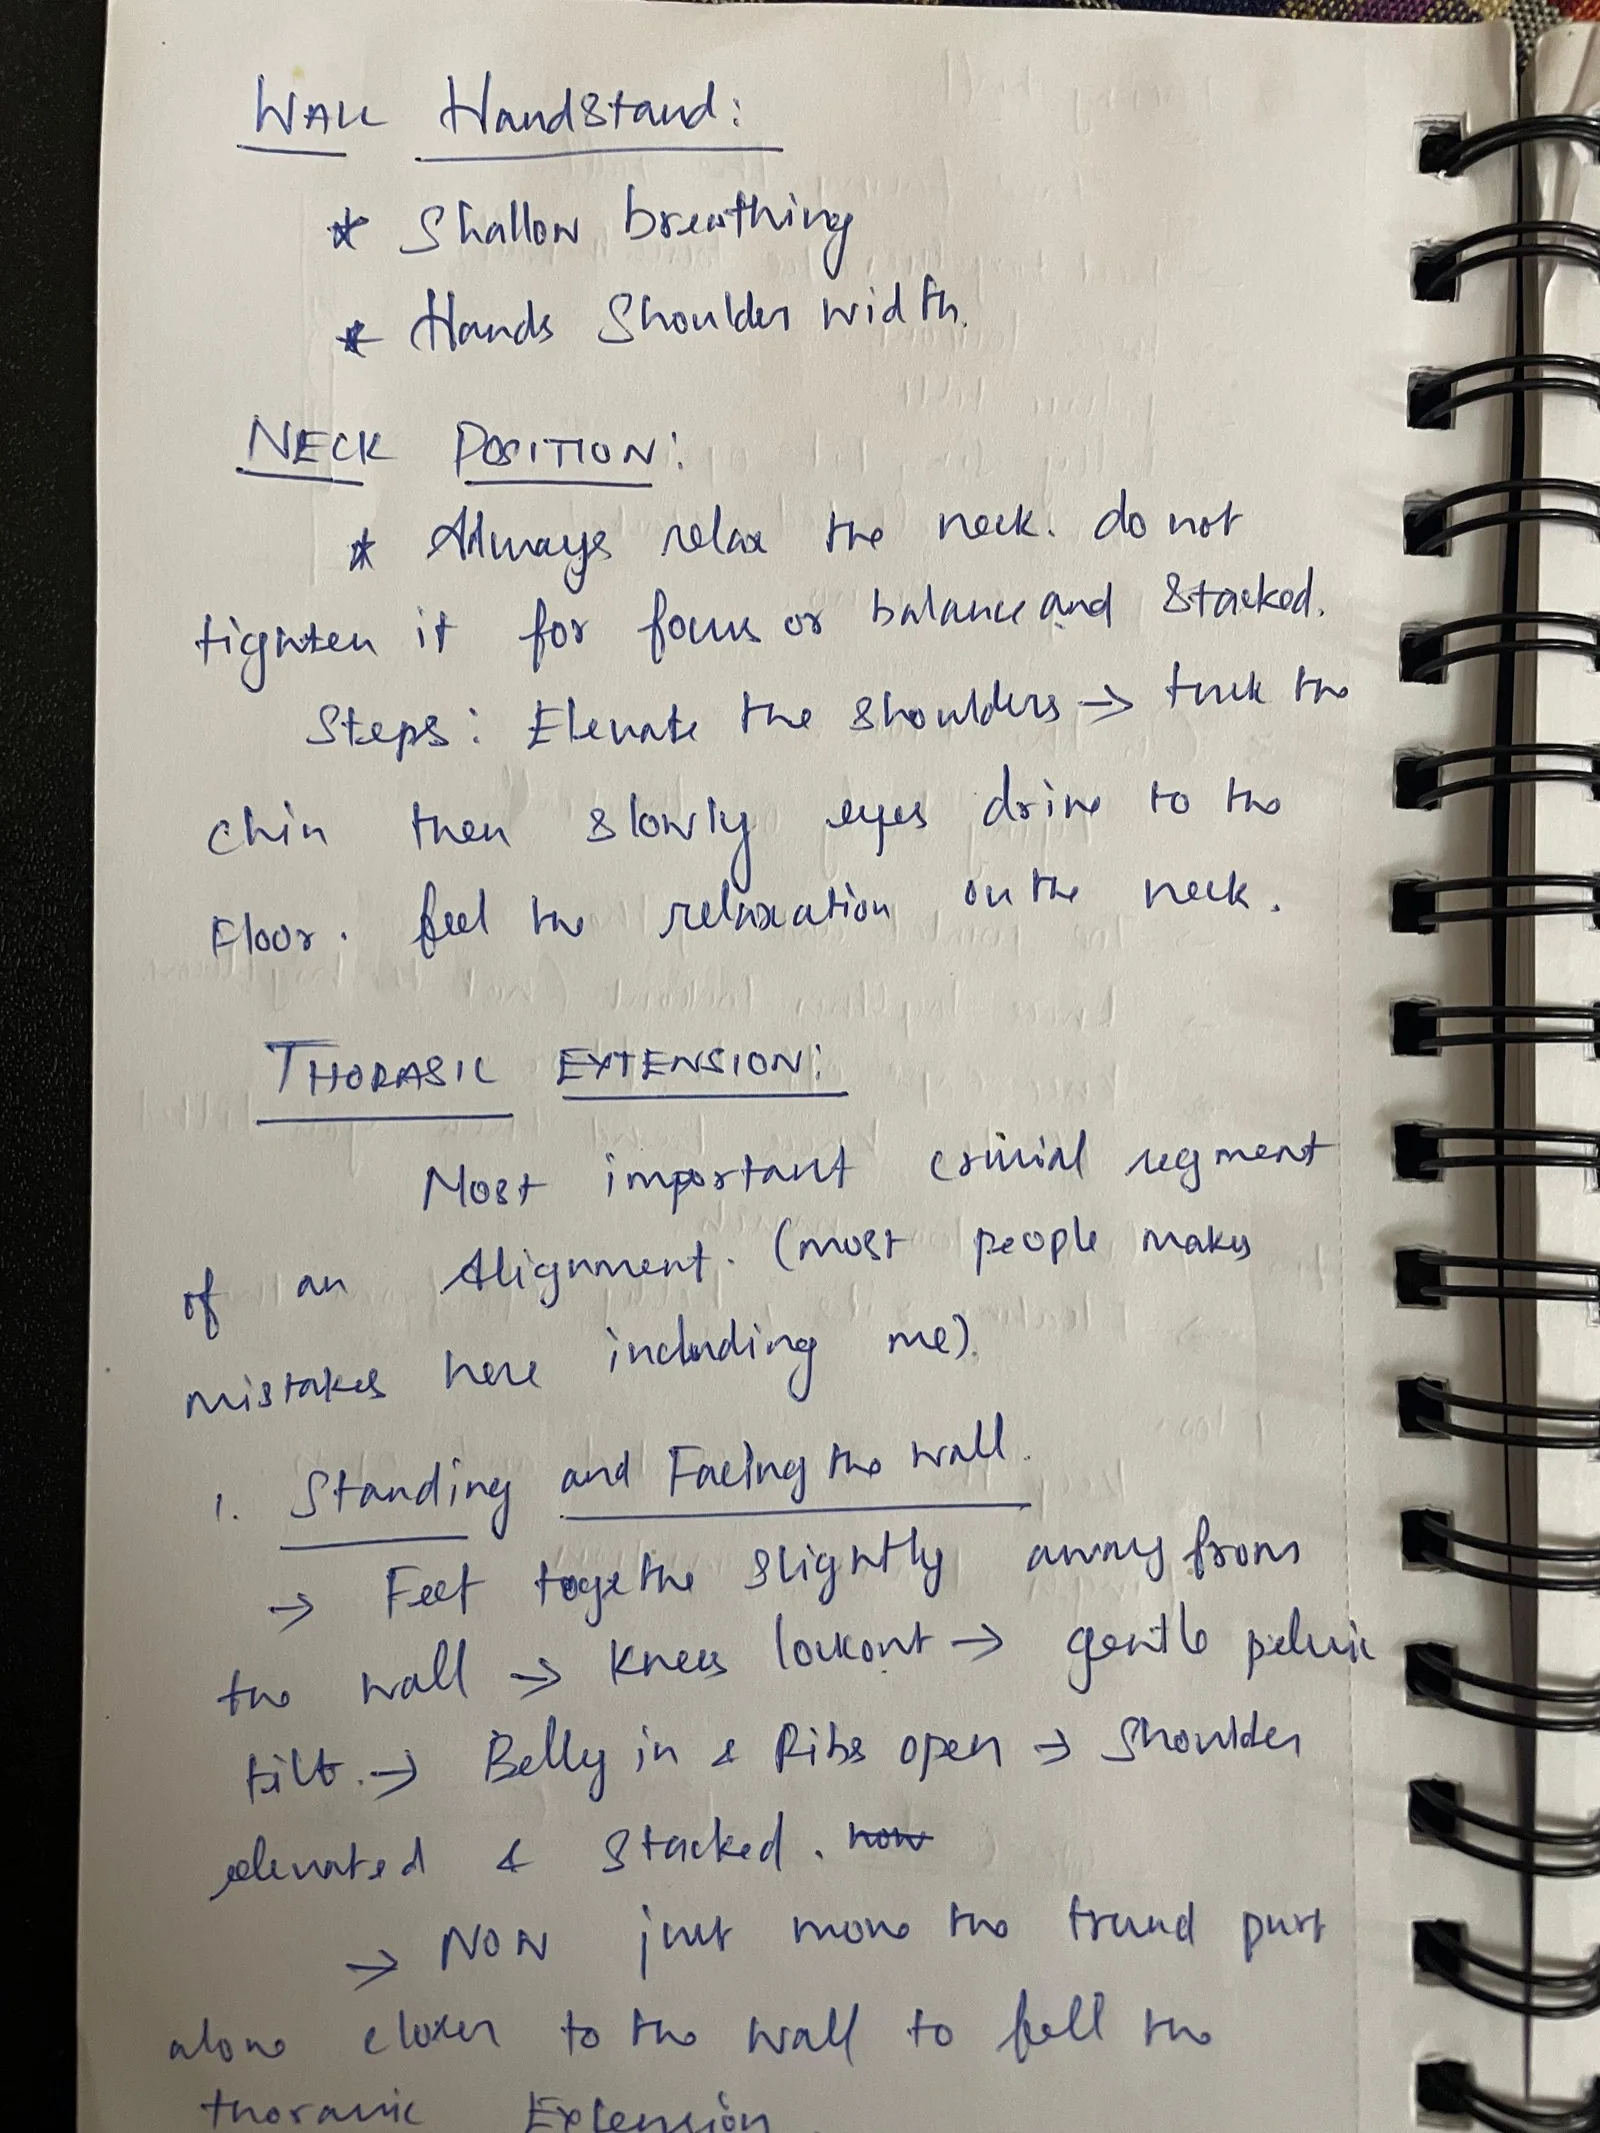
Tuck Handstand Variation:
→ From straight leg → Tuck
  one by one leg → Tuck
  (Tuck: no need to compress by
  counterbalance the hip to SH)

Tuck Transition Variation:
  Straight → Small Tuck → Full Tuck

3. STRAIGHT HS
   ★ Hand Position + Facing the wall
   Awareness for straight line.
   → Look the floor — Parallel — Tuck
     the hand.
   → The floating rib should be
     straight → the one in the hip
should → adjust the hip position 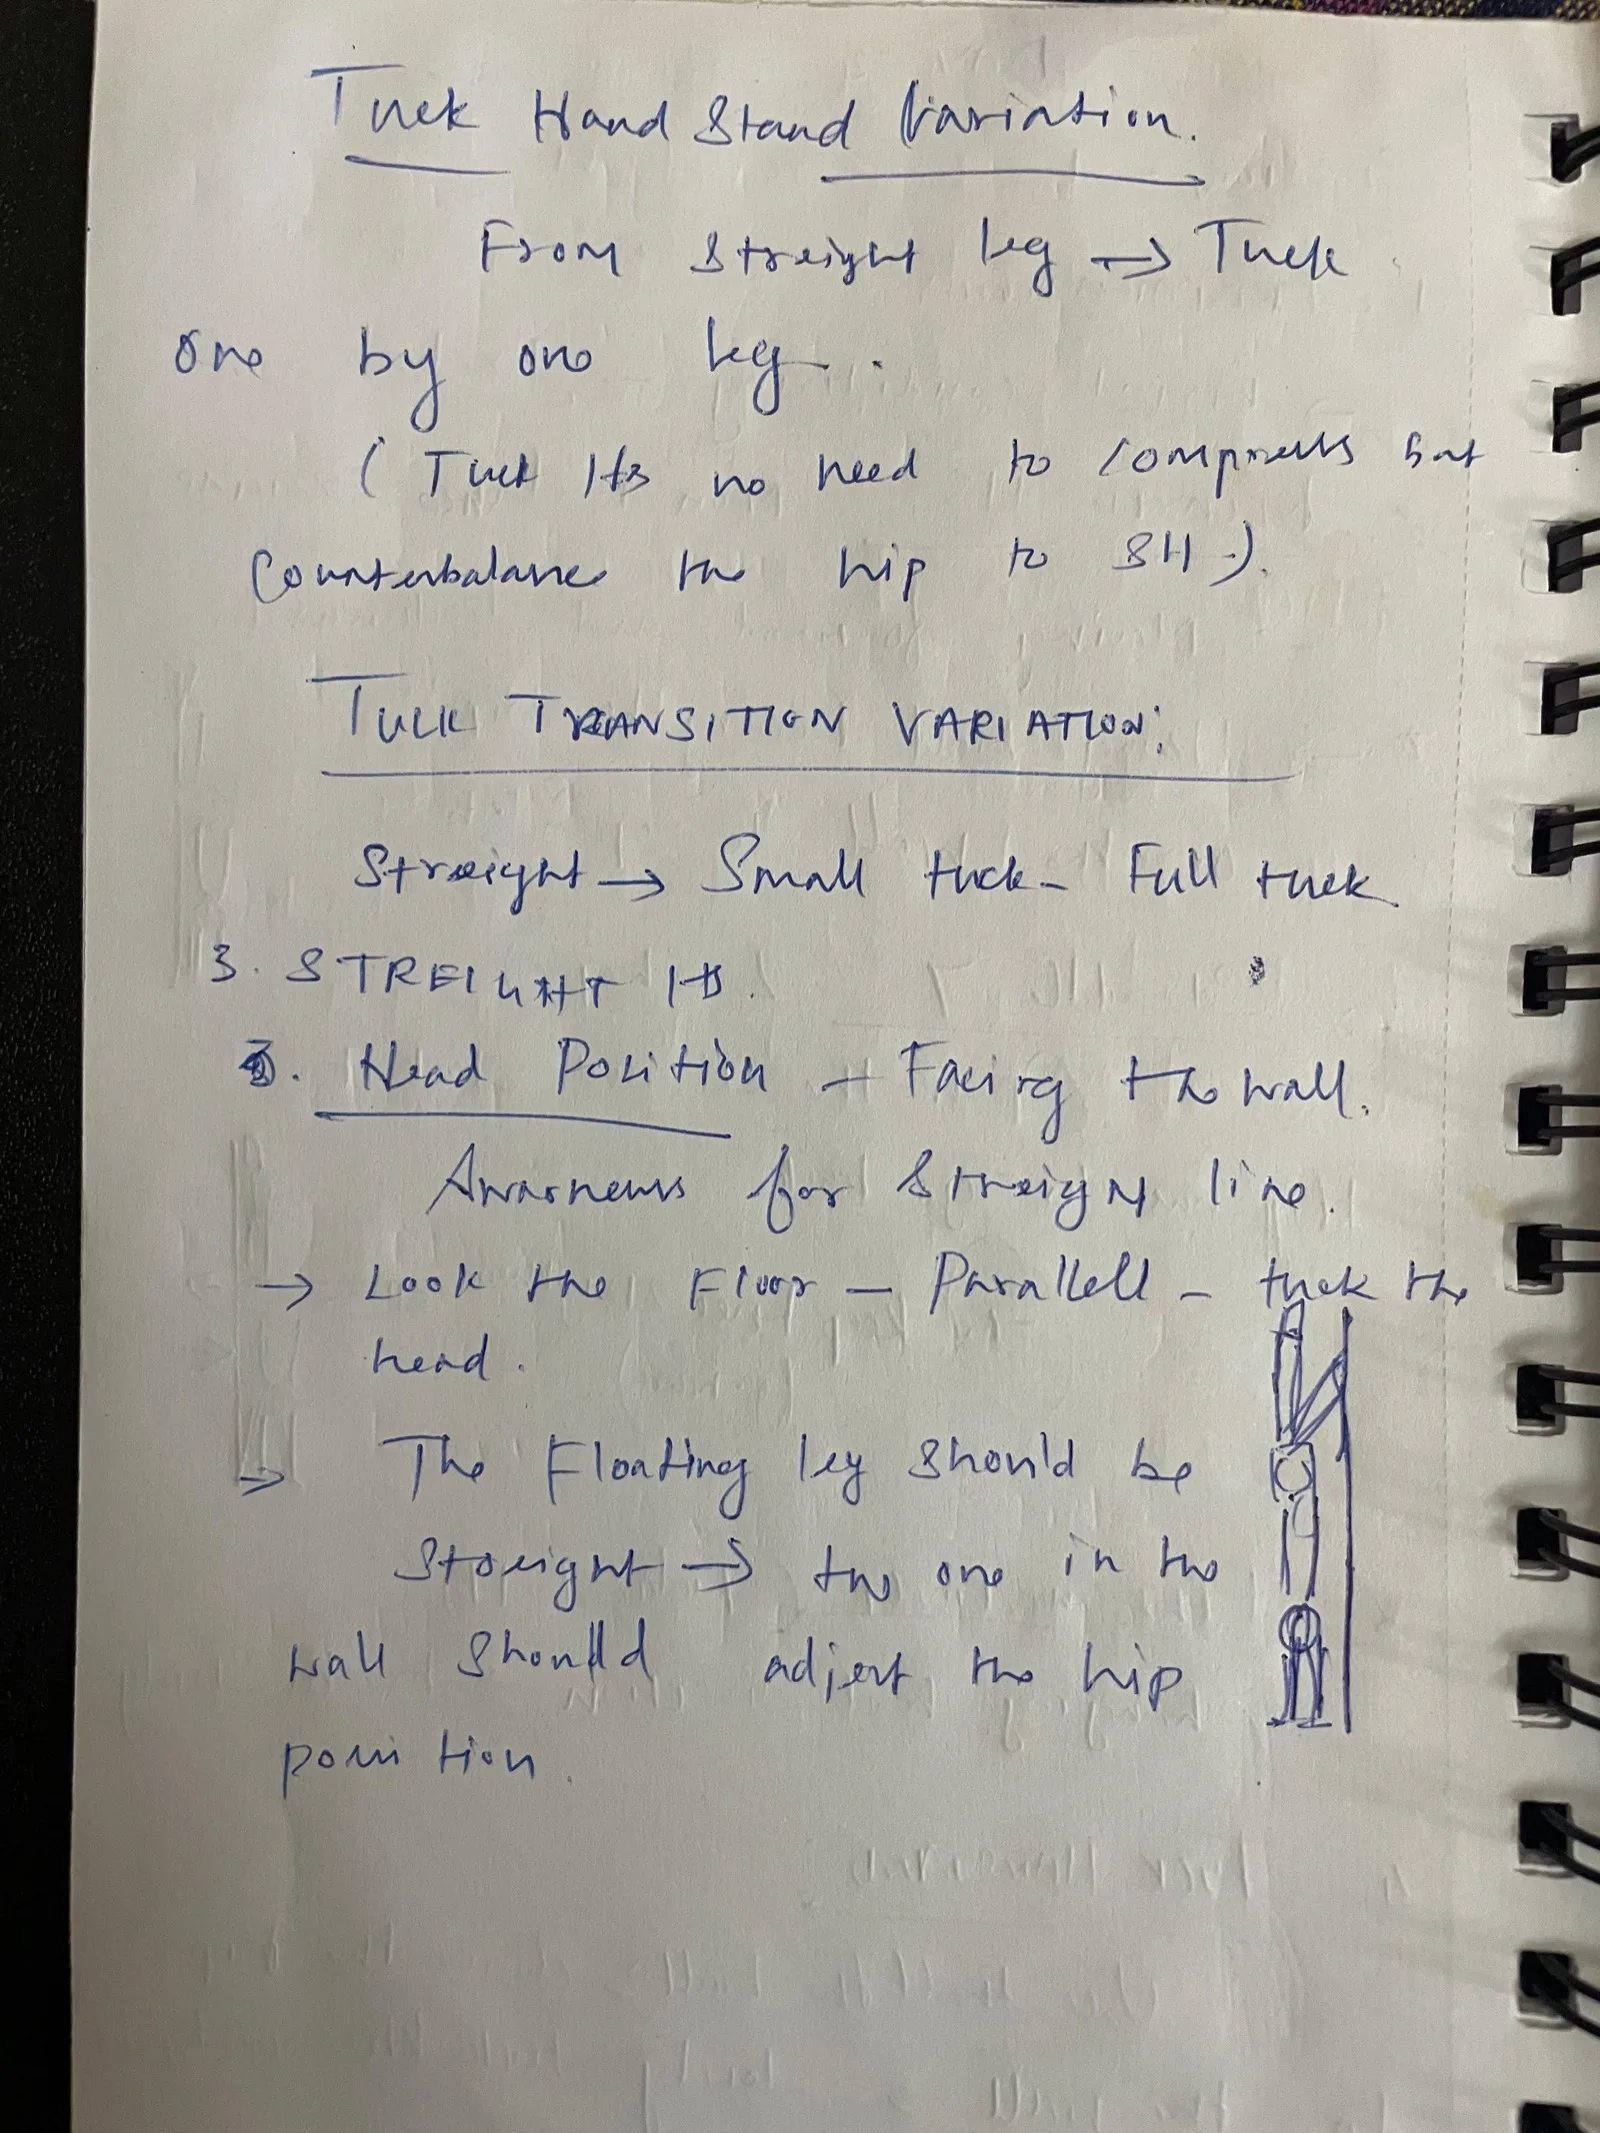
1. Relaxed HS. Feet over the hands
   a. Open SH — Ribs open →
      belly in — Ribs open … SH width.
      Legs open to just a pinch.

2. Straight HS: top open to SH width
   ★ Slowly open to just a pinch.

3. STRT HS to STRADDLE HS
   the transition should be very slow
   and controlled.

   Details: Knees (facing forward —
   open → hit the small straddle, then
   externally rotated — for pointed —
   toes. Go back to small straddle.
   Knees upward.

5. HS + Small top 5 times
6. HS — Small straddle — Big straddle —
   Small straddle — HS
   (plane a lil bit, make sure to go)
7. Game evening, little faster.
Kickup → SH above the brackets (always) 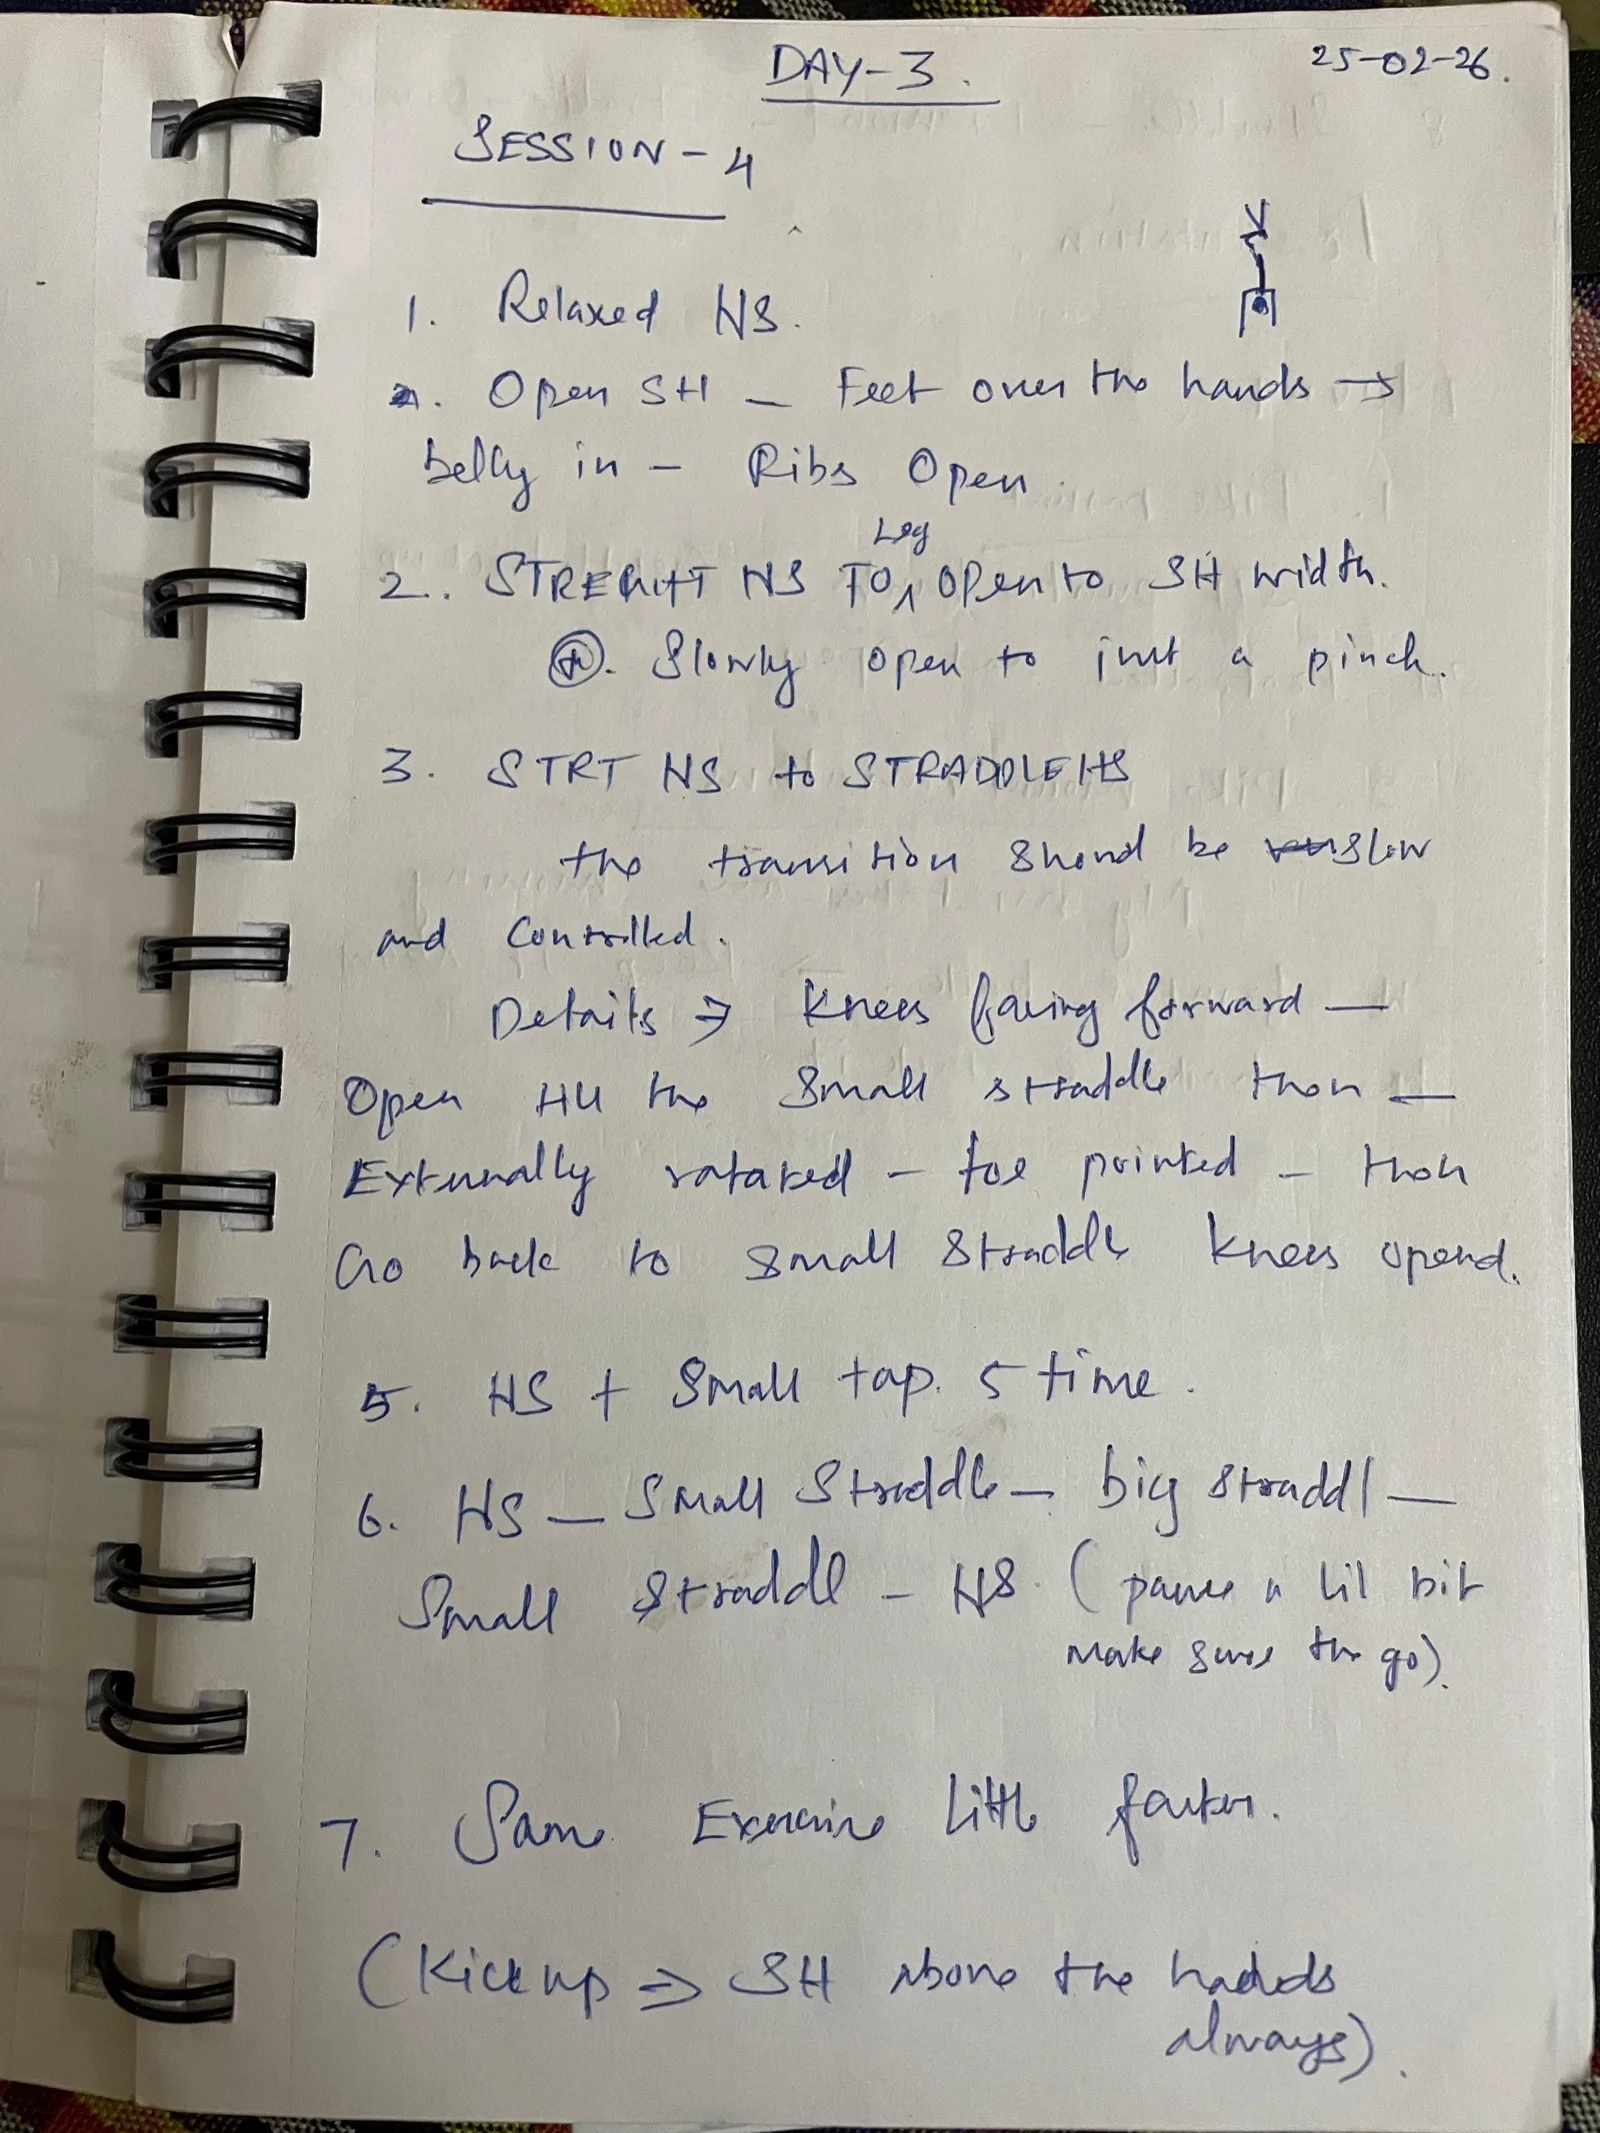
STRENGTHS BALANCE EXERCISE:

1. Split legs
   in handstand — together for balance
                         [drawings]

2. Pike to extend the hip
   Using the wall (one hand)

   ★ SH open and stacked → hip drives
     for the center → then extend
hold for the straight line. 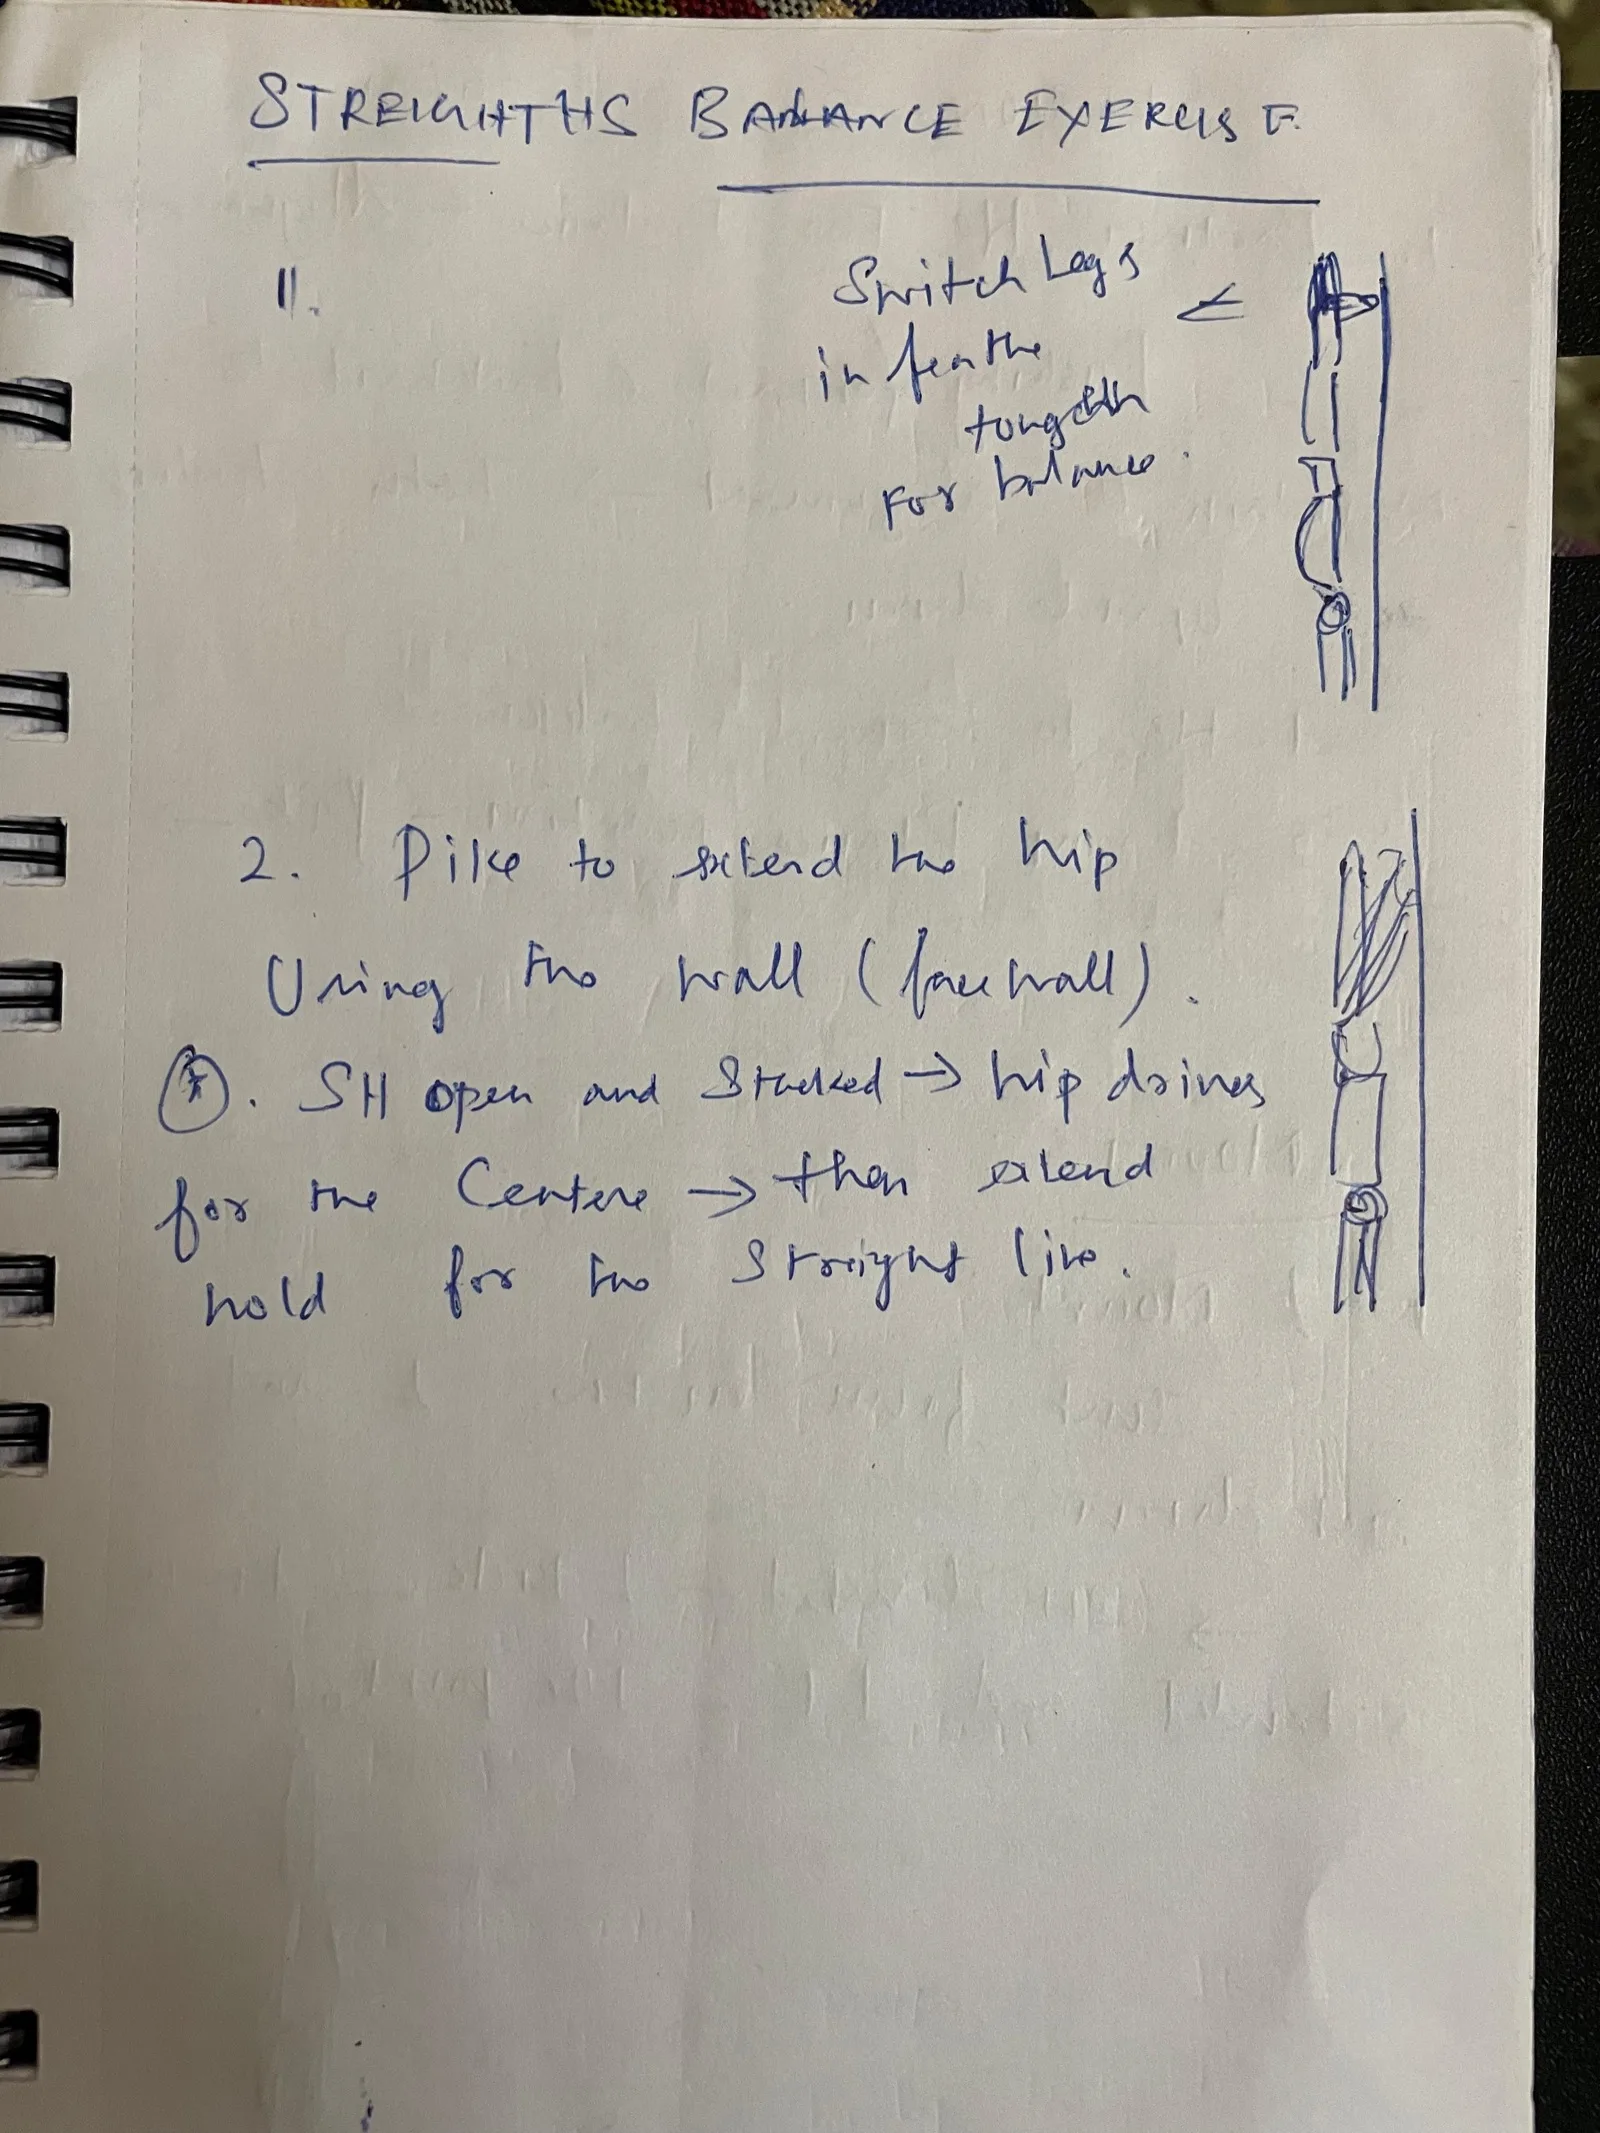
Partner HS for Balance & Alignment
→ Pushing forward & backward to
  maintain the alignment → both standing
  and upside down.

1. HS to forward & backward.
2. From plank position → pike → HS

3. Mounts:
   1. L Mount
      Lean forward on the L and
      get down.
      → SH elevated — toes
      → SH full extended and IR —
toe pointed, stretched and IR. 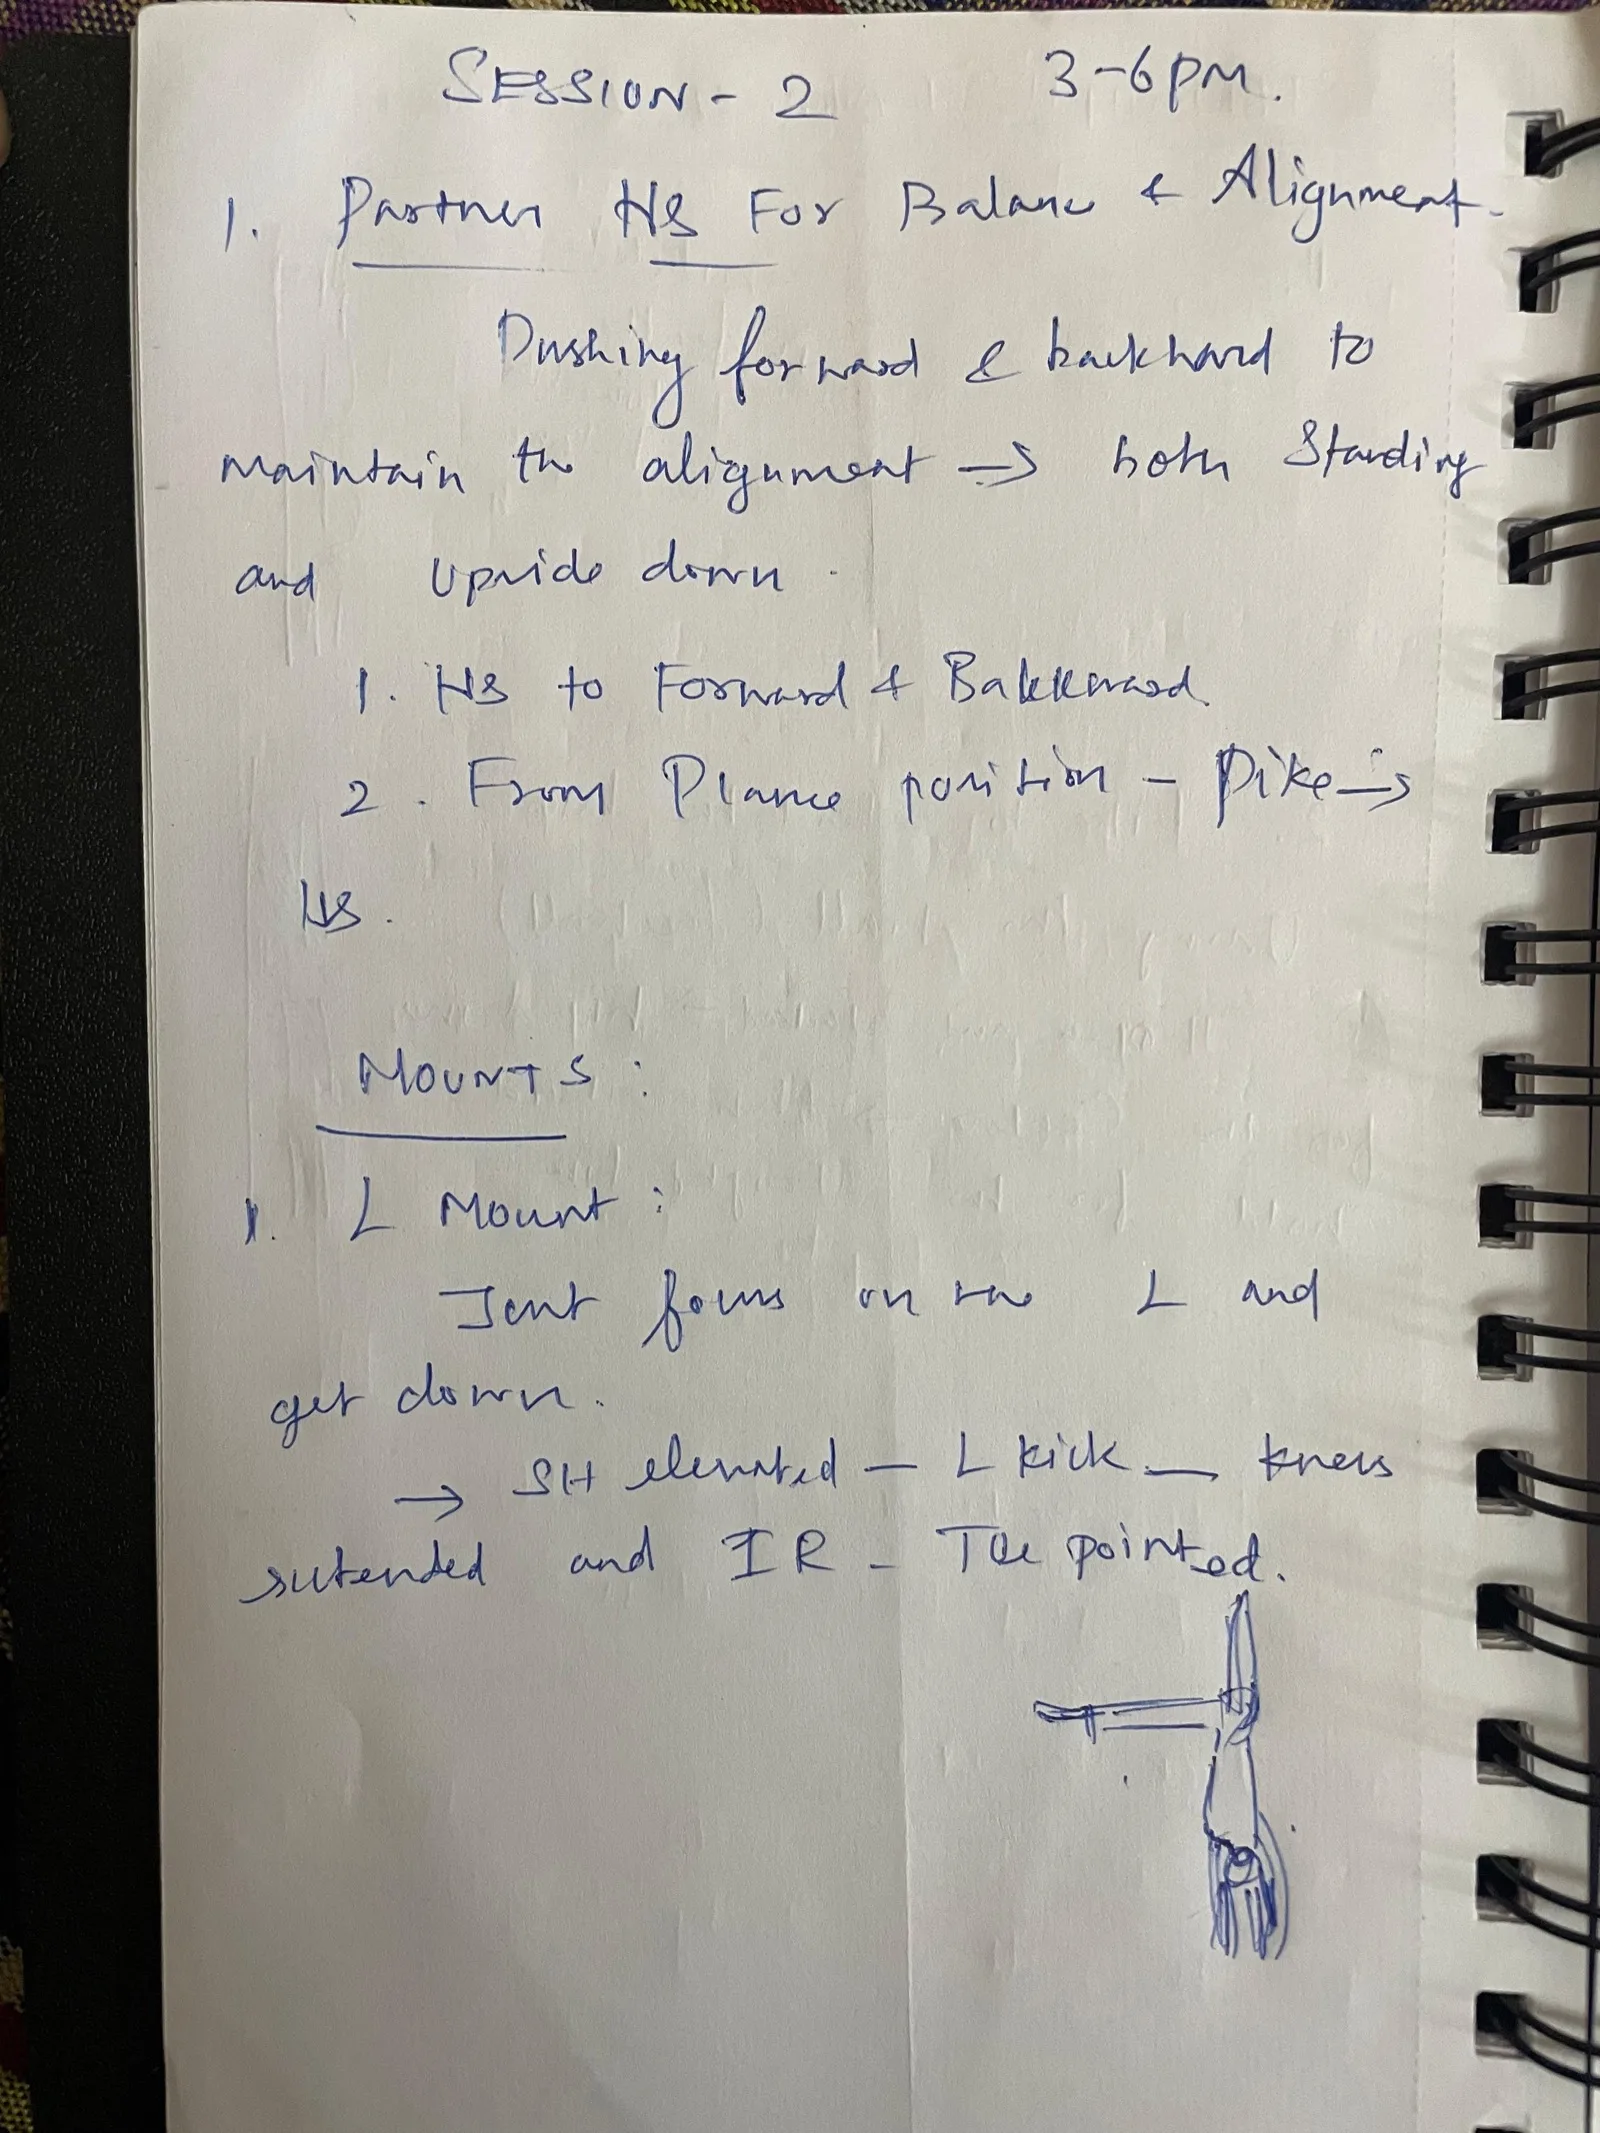
2. L Mount to Straddle
   ★ Focus IR and ER when
     doing the transition

3. Diamond Shape — Open Knees
   → keep the pelvic tilt.

Sequence: D → T → D → S → HS

1 step Drill: Side Shifts
1. Facing wall: Side Shifts
   Straddle HS: SH — shift from
   the leg.
2. Shift and just off the other hand
   (almost like a feather touch).
3. Shift and tap the elbow. 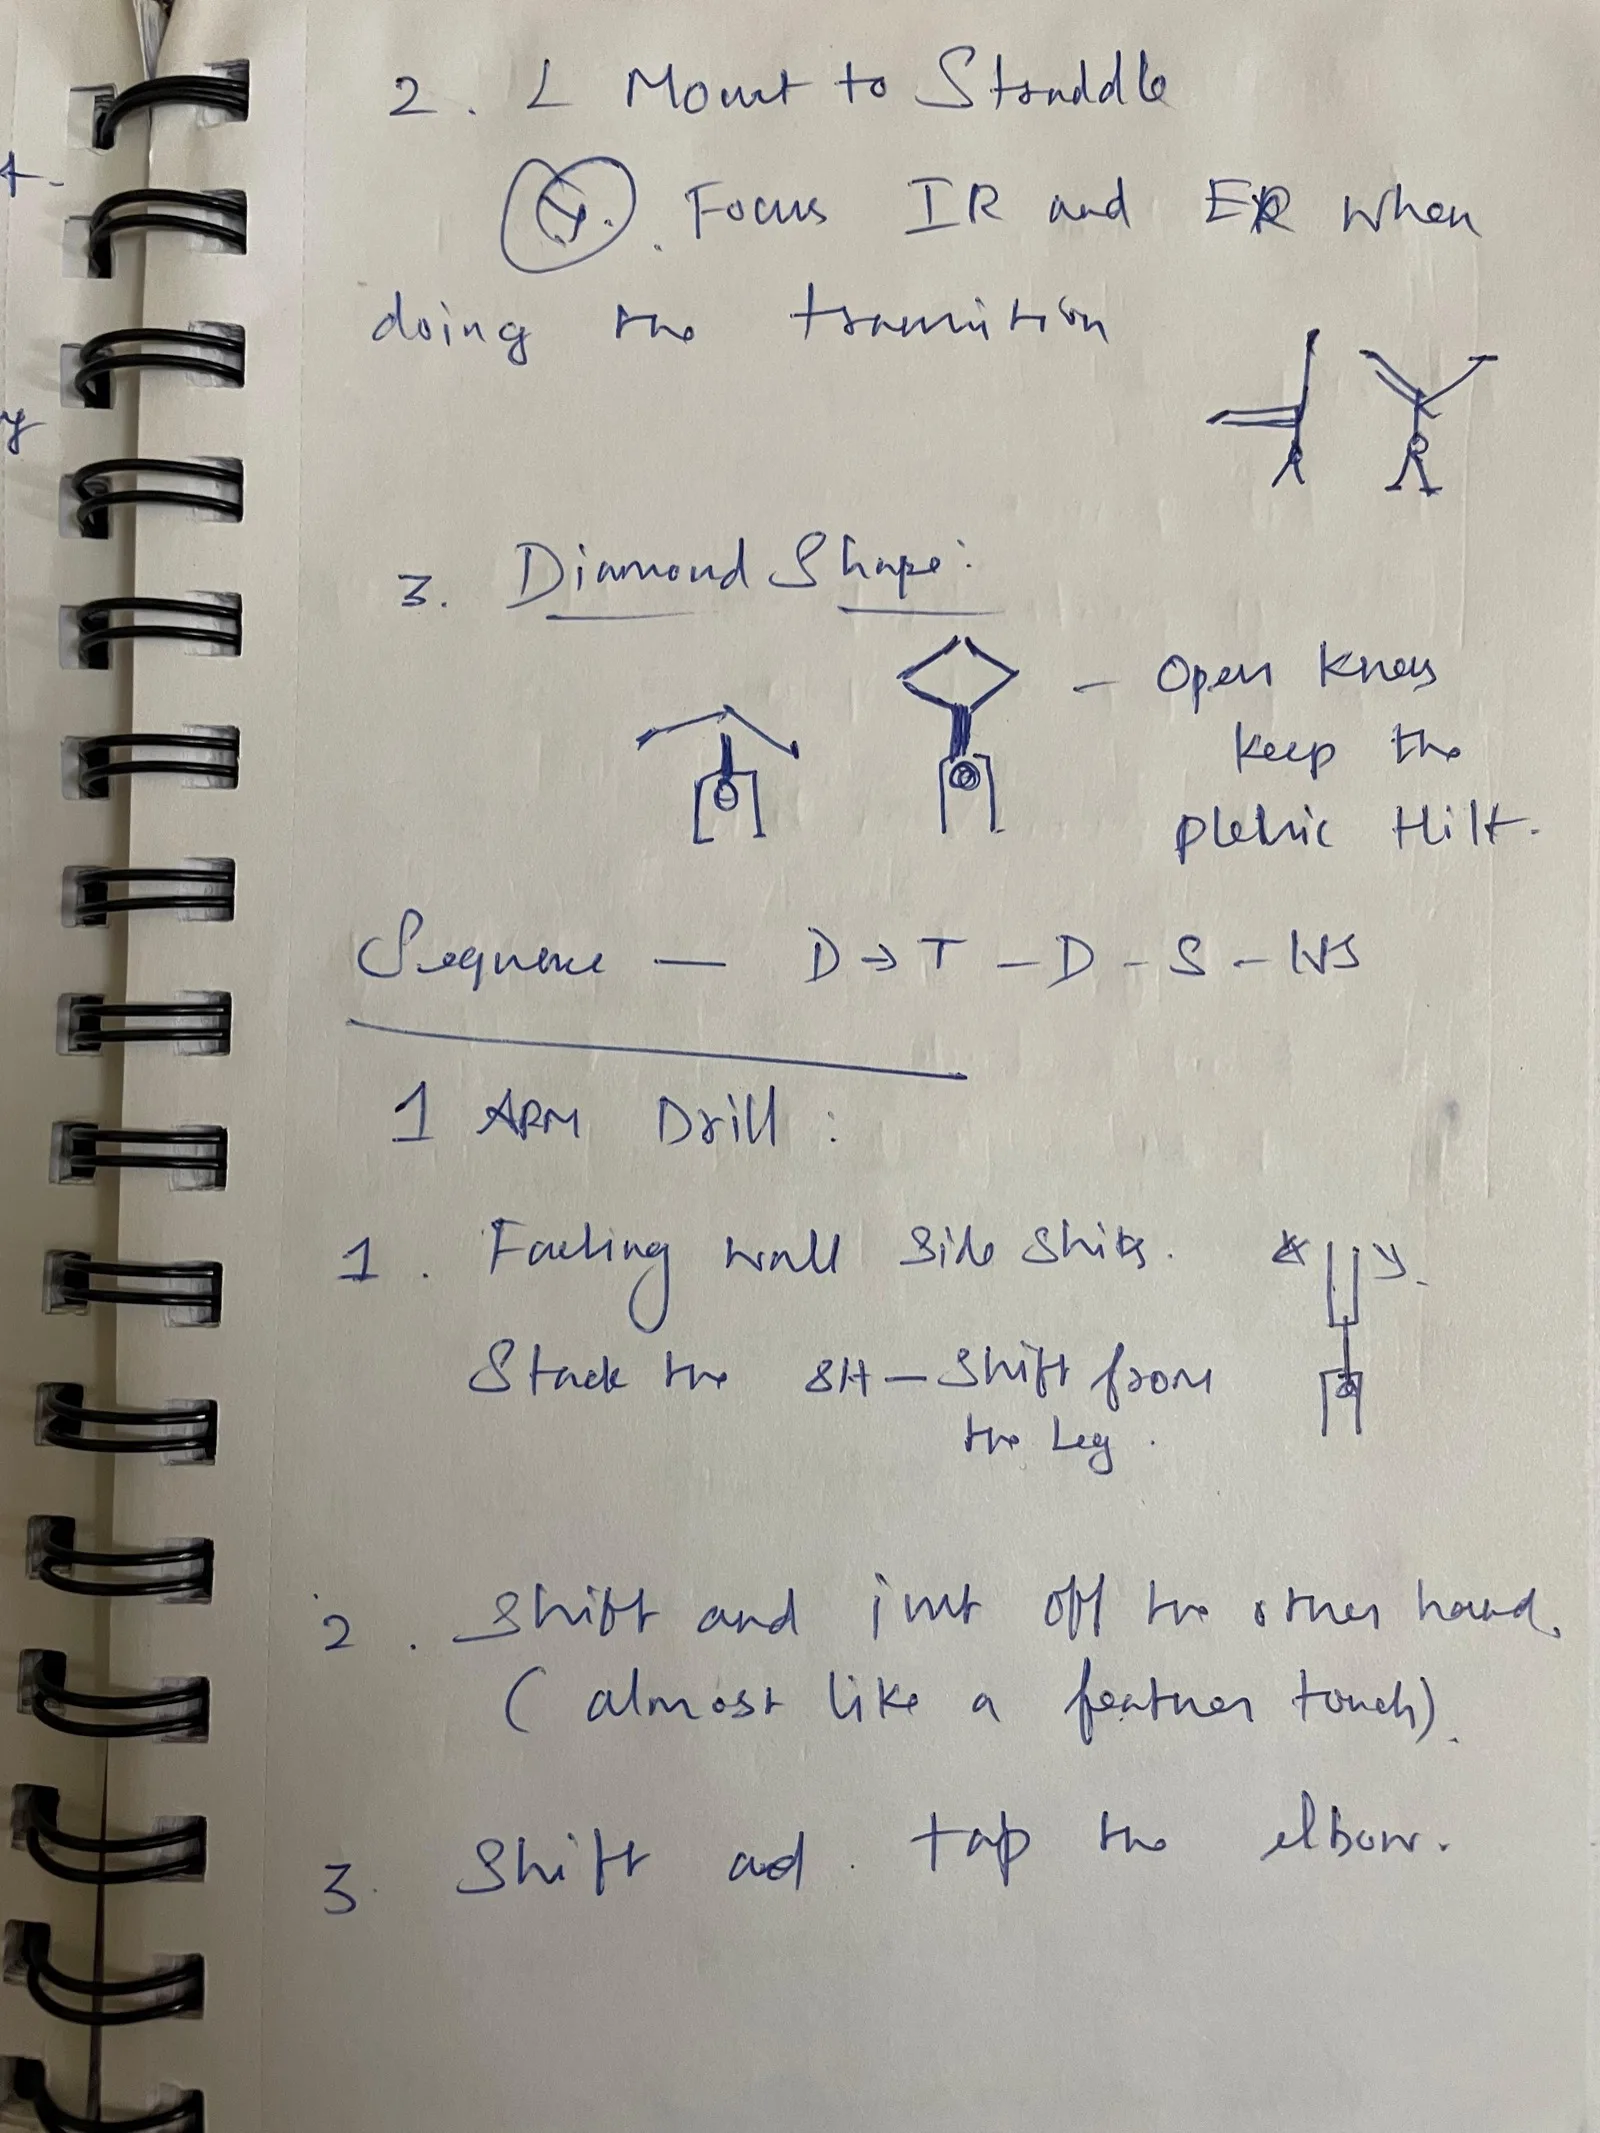
8. Straddle — Diamond — Straddle — Diamond
   Presentation:

MOUNT:
1. Pike mount — Gentle Kickup
   SH over the hands
   SH Protracted and Open.

2. Pike mount (Variations)

★ My mistakes are: moving
  SH front & back.
  → Keep it above the hands
& stack it. 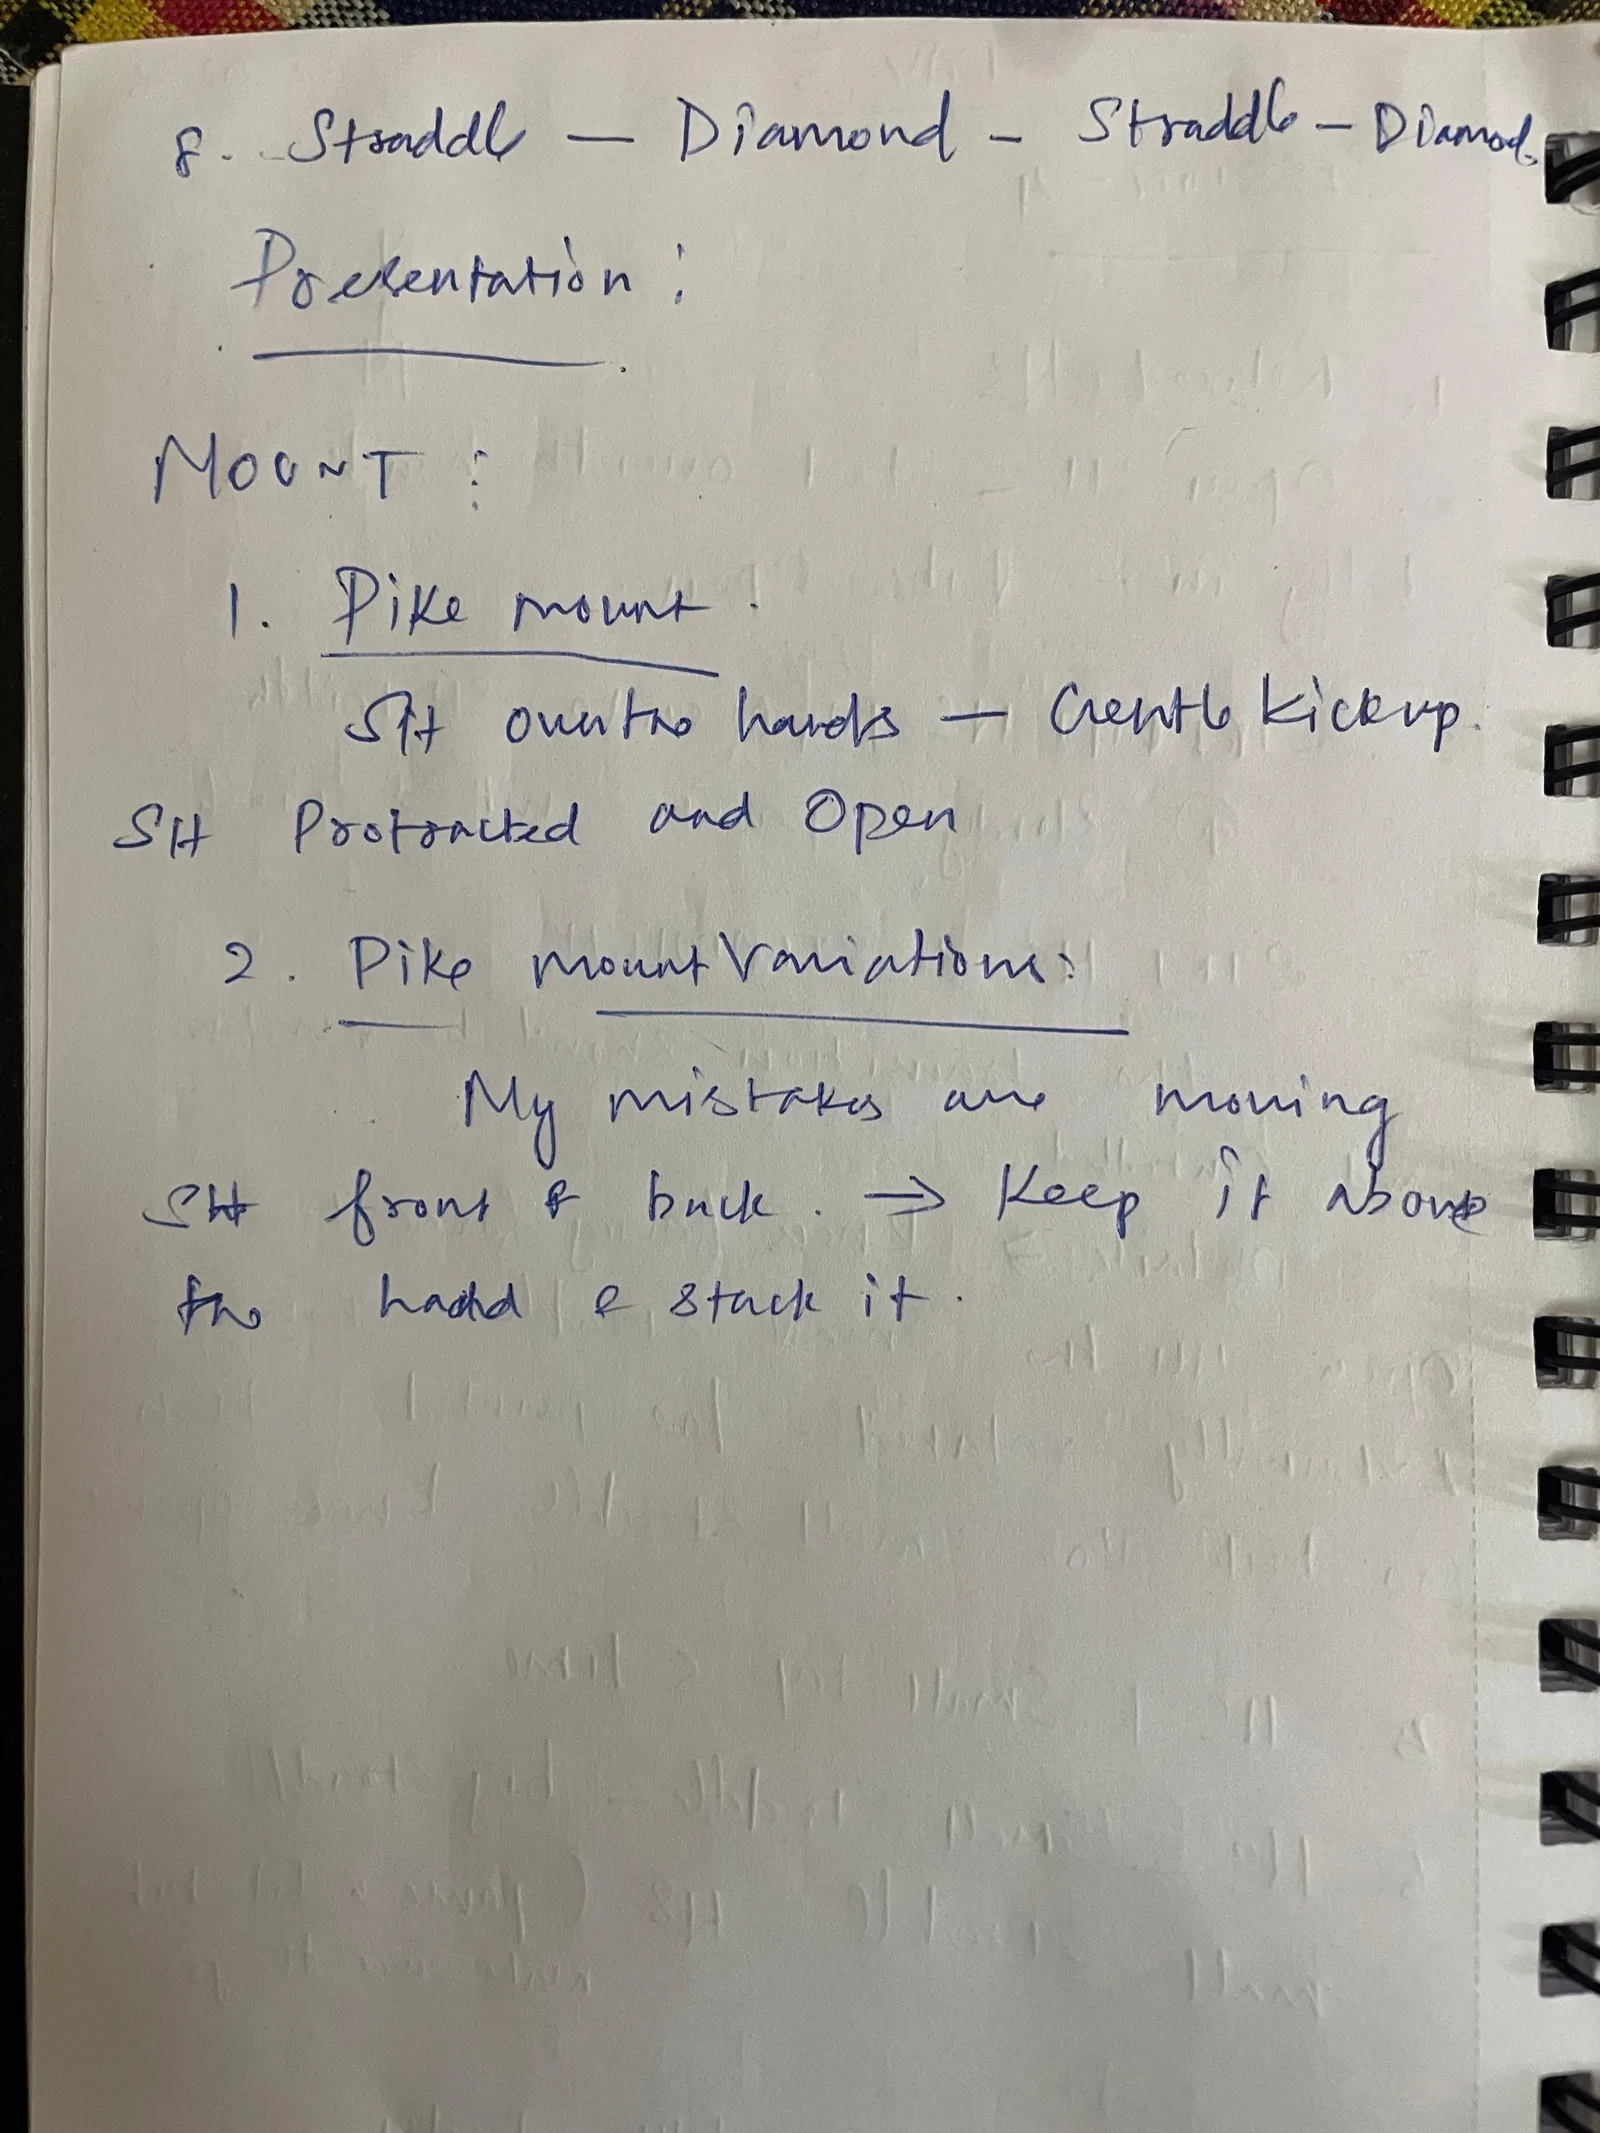
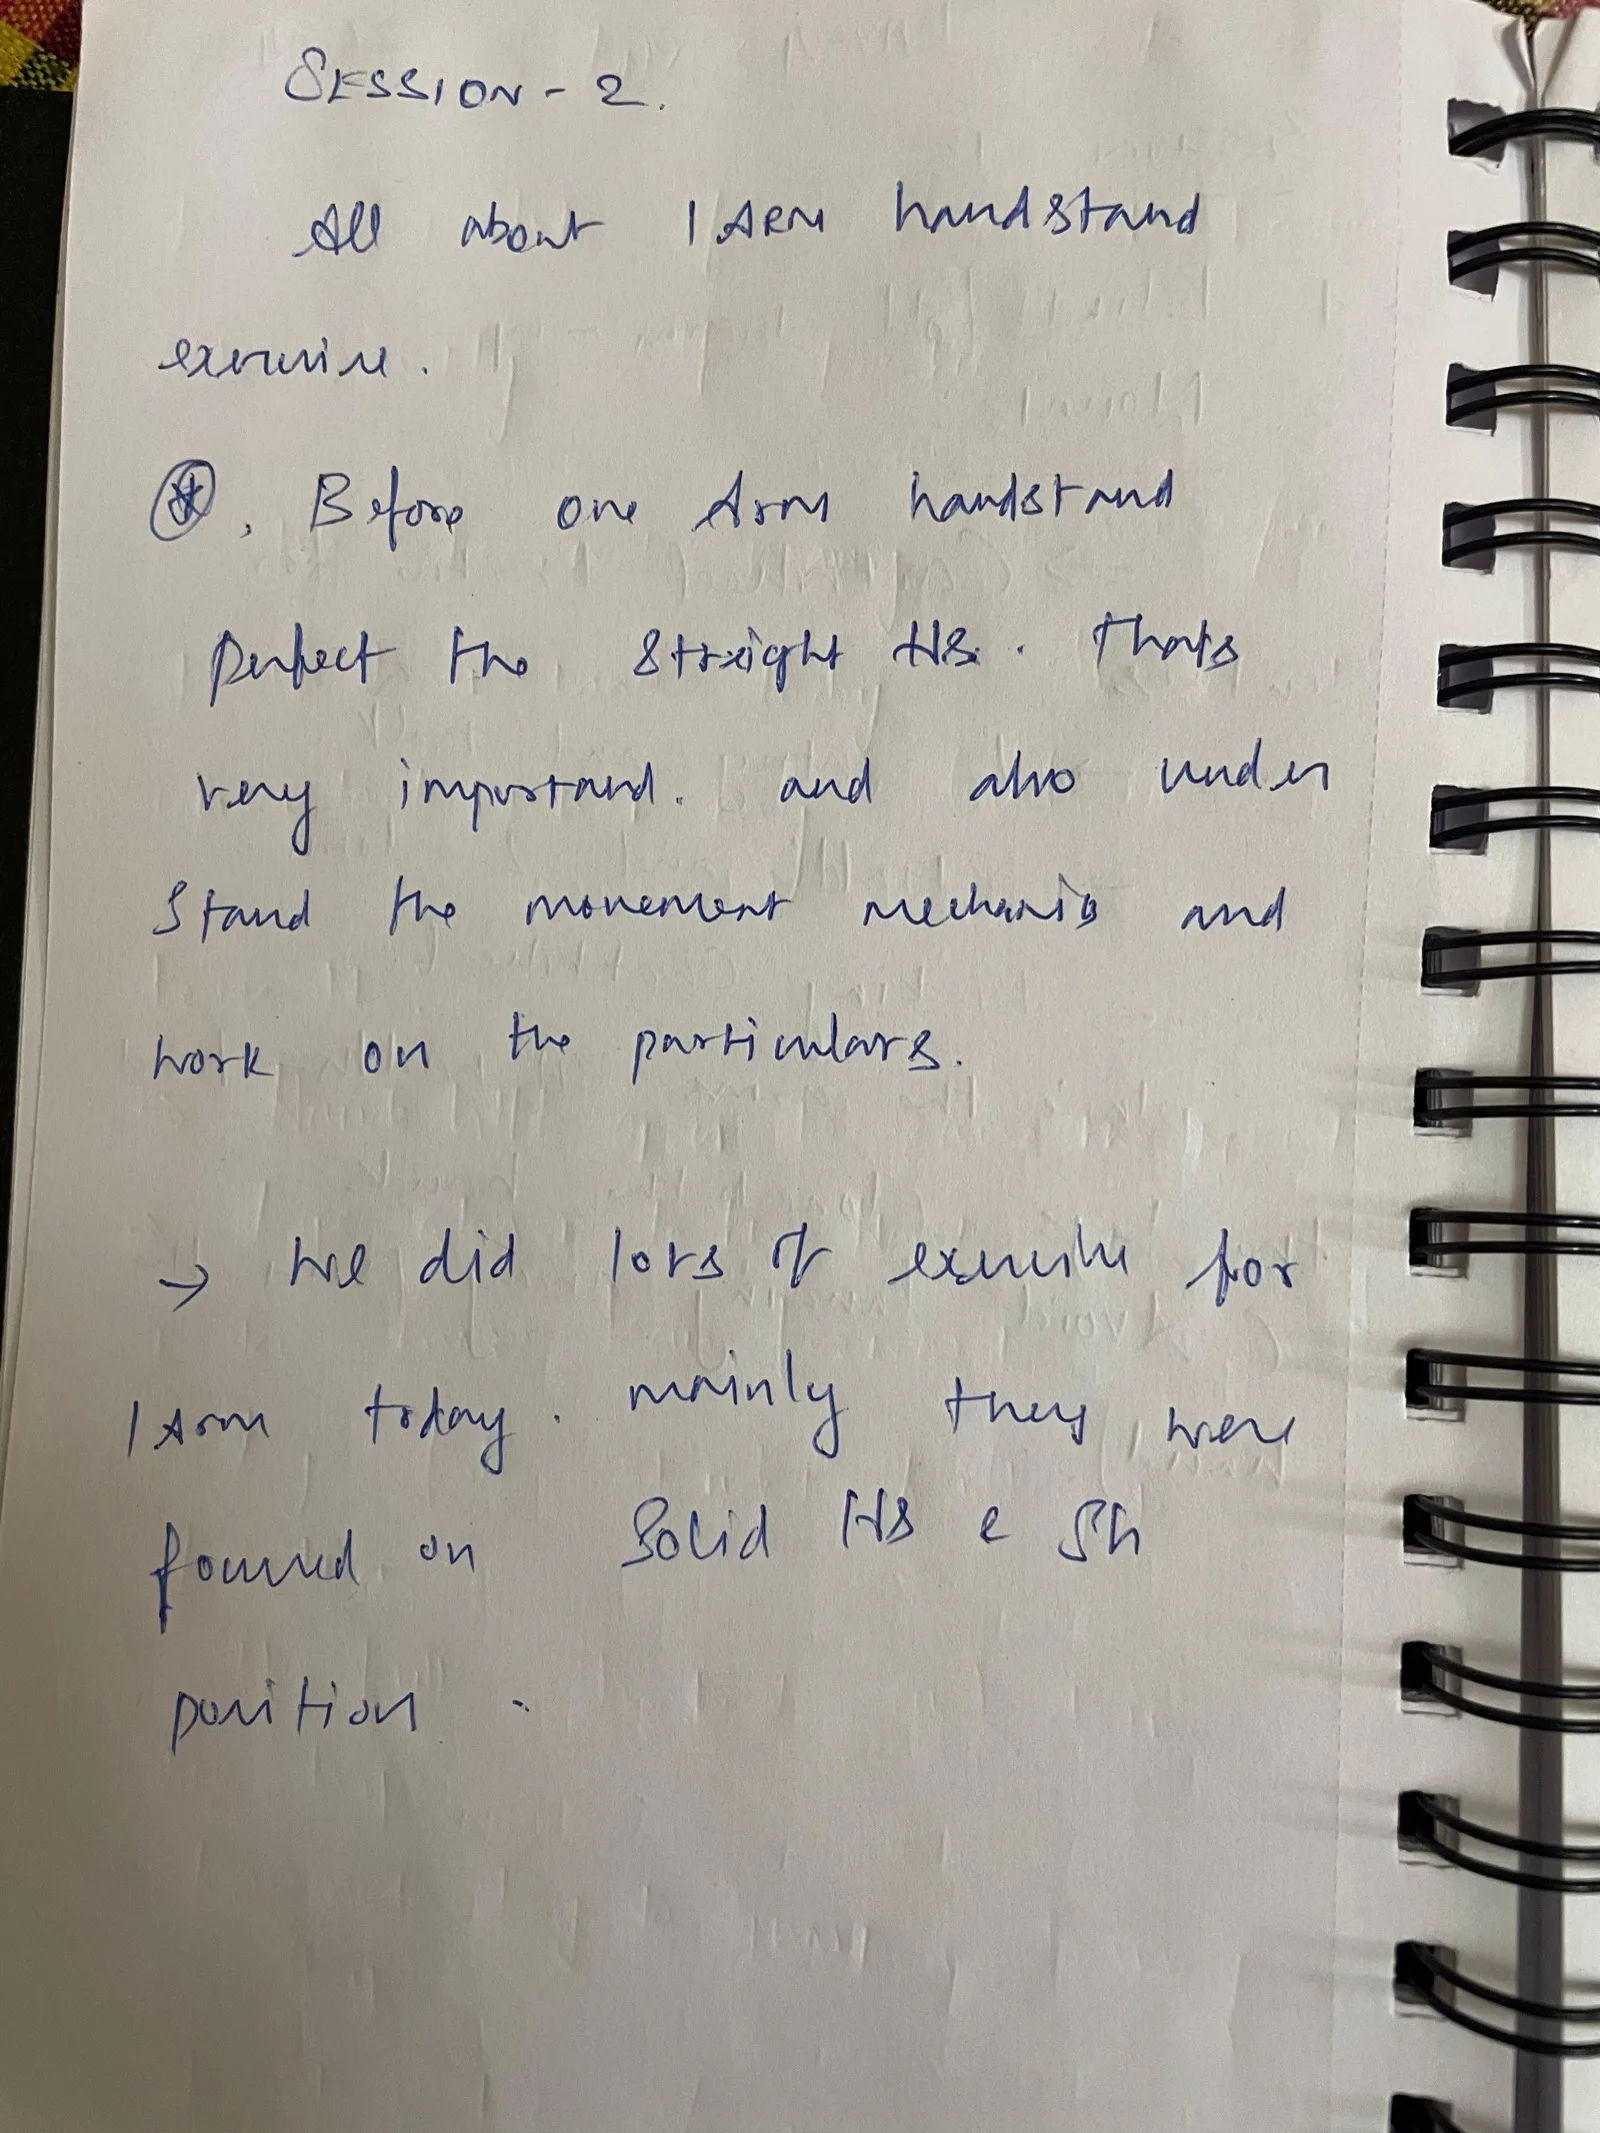
Session - 2
All about 1-step handstand
exercises — One Arm Handstand.

★ Before one arm handstand,
  perfect the straight HS. That's
  very important. And also understand
  the movement, methods and
  work on the particulars.

→ He did lots of drills for
  1-arm today. Mainly they were
  focused on solid HS & SH
  position.
1. Blindfold warm-up
2. Mounts:
   → Cartwheel practice for
     in HS: → L entry and walk
            → Straddle and L down
   → Making Cartwheel:
     Place the arms SH width — land
     the legs close to the hands.
     Avoid landing away from the
hand. 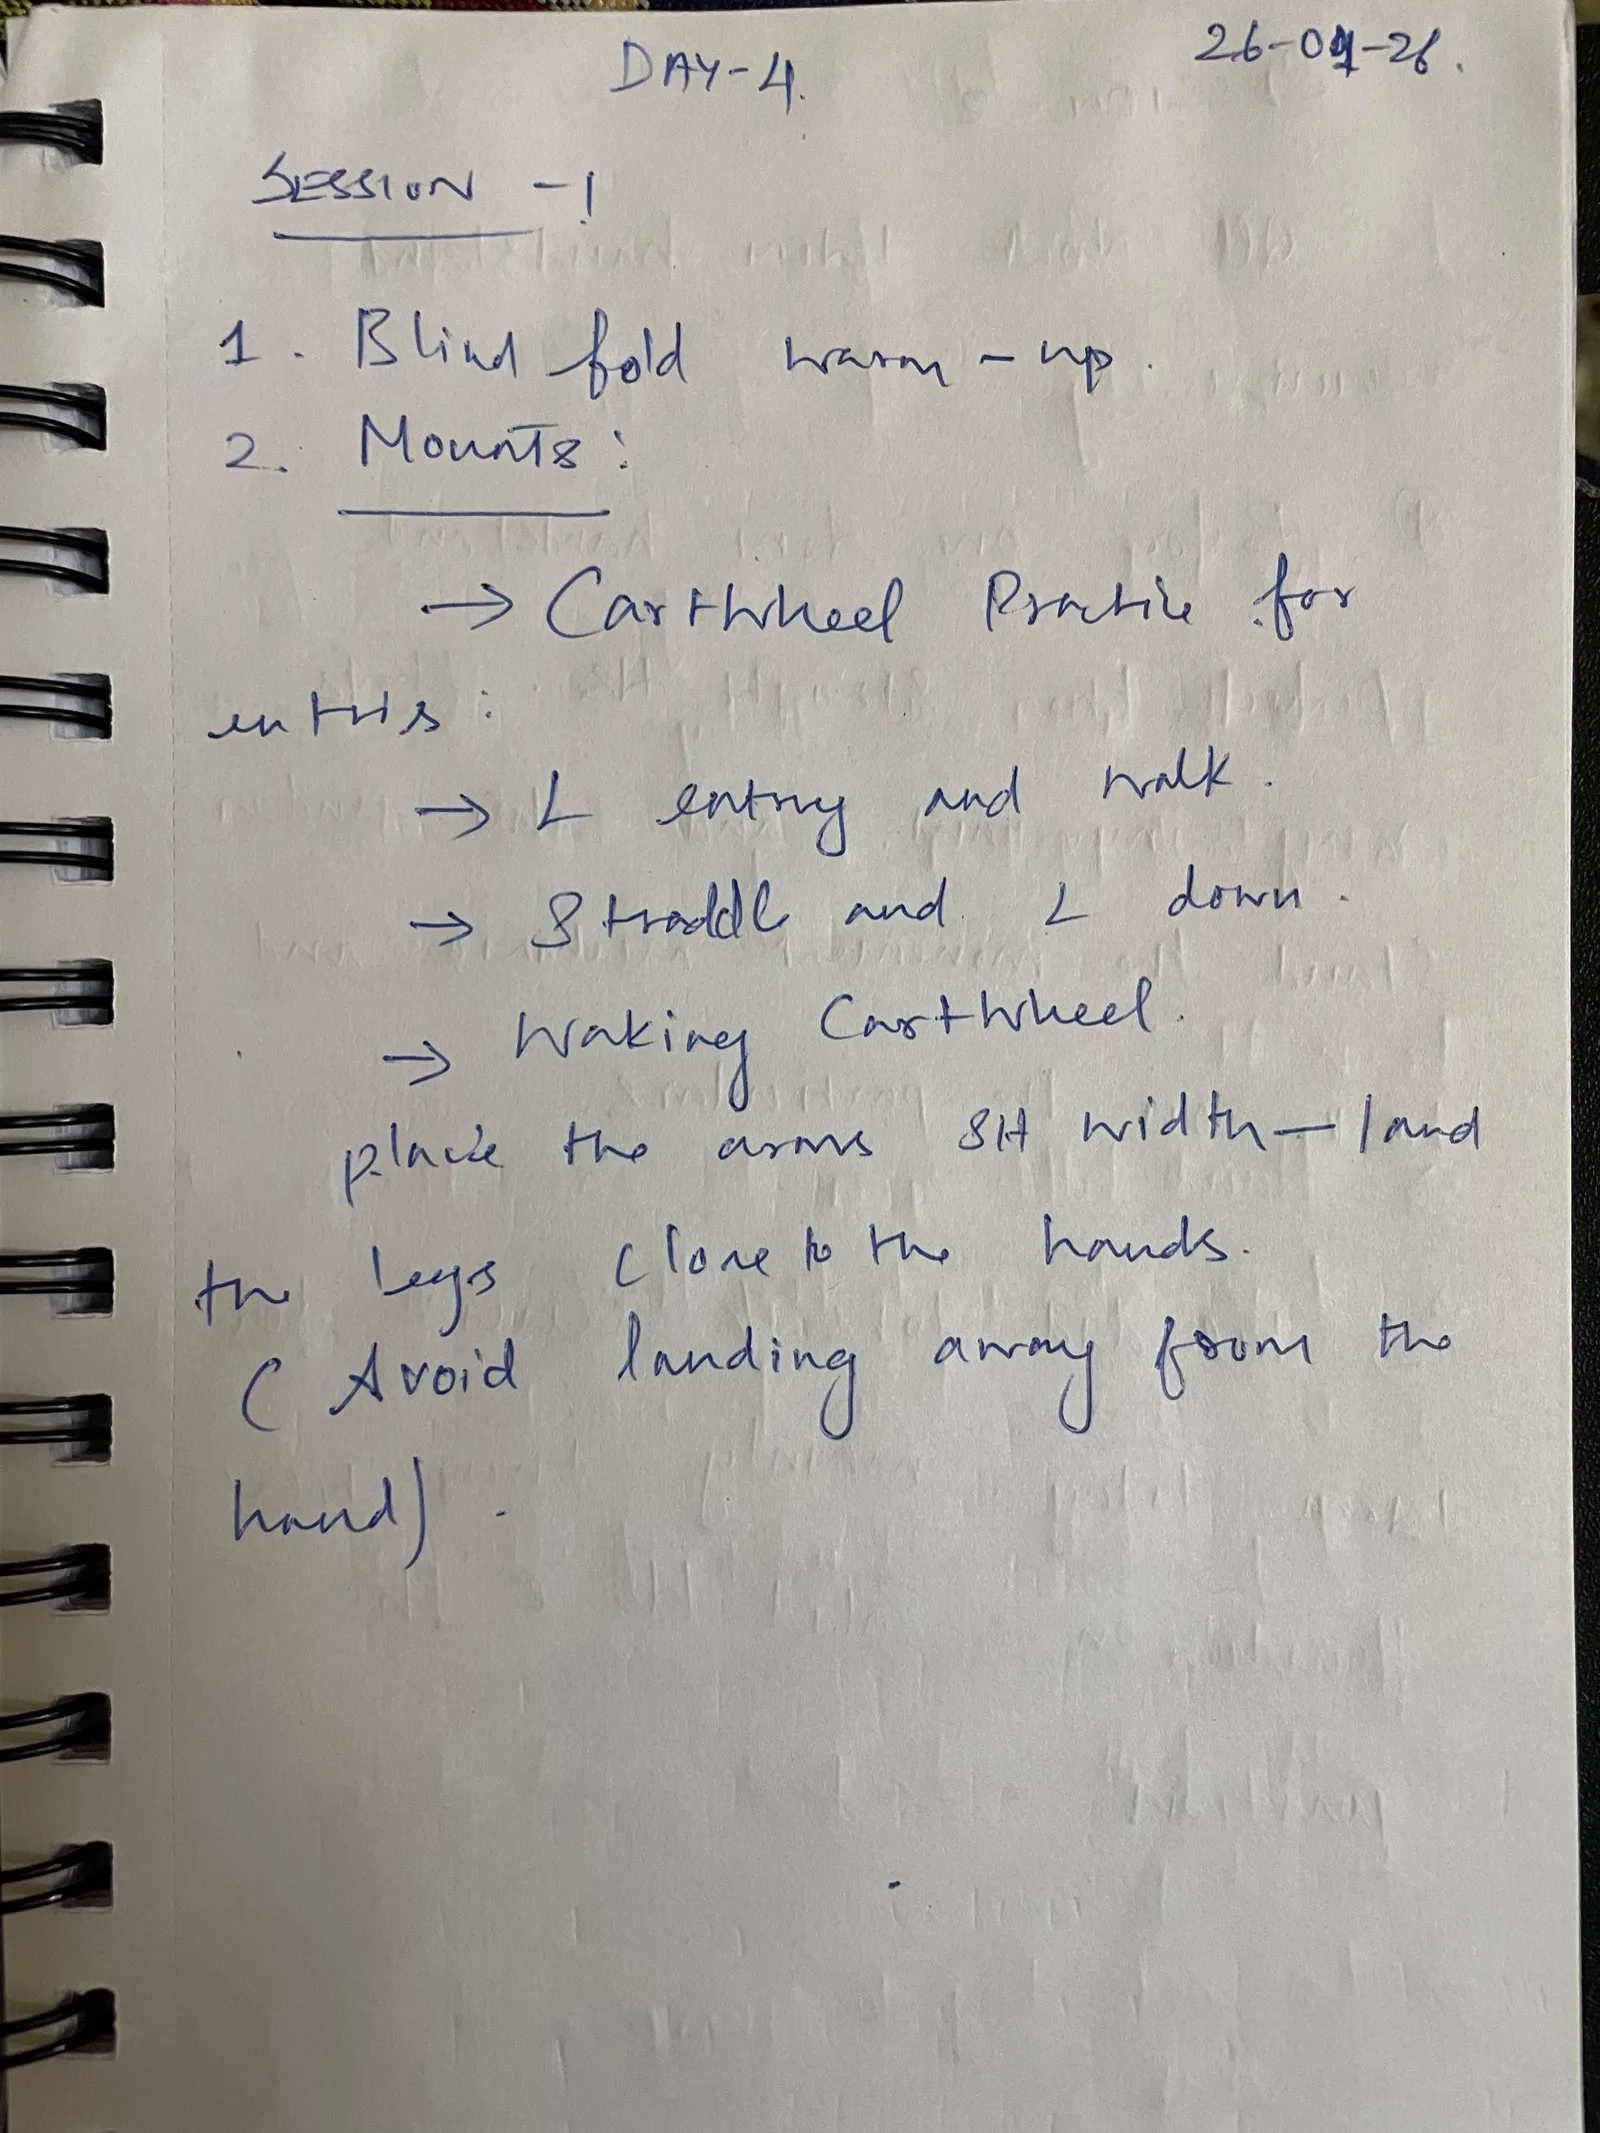
1. Relaxed handstand
2. Relaxed HS with straight legs
3. Press mount — Variation
   → Half negatives
   → SH elevated — Pelvic tilt
   → Hand in & Relaxed
   → Close on freestanding

Q+A
1. How to use blocks
2. How to train with blocks & floors
   parallettes — planks, floors
   When to use parallels
3. ★ What I need to focus:
   1. Need to perfect the HS alignment
   2. Work on duration per 1 min
   3. Keep the maintenance
   4. Work on mobility, compression
& flexibility 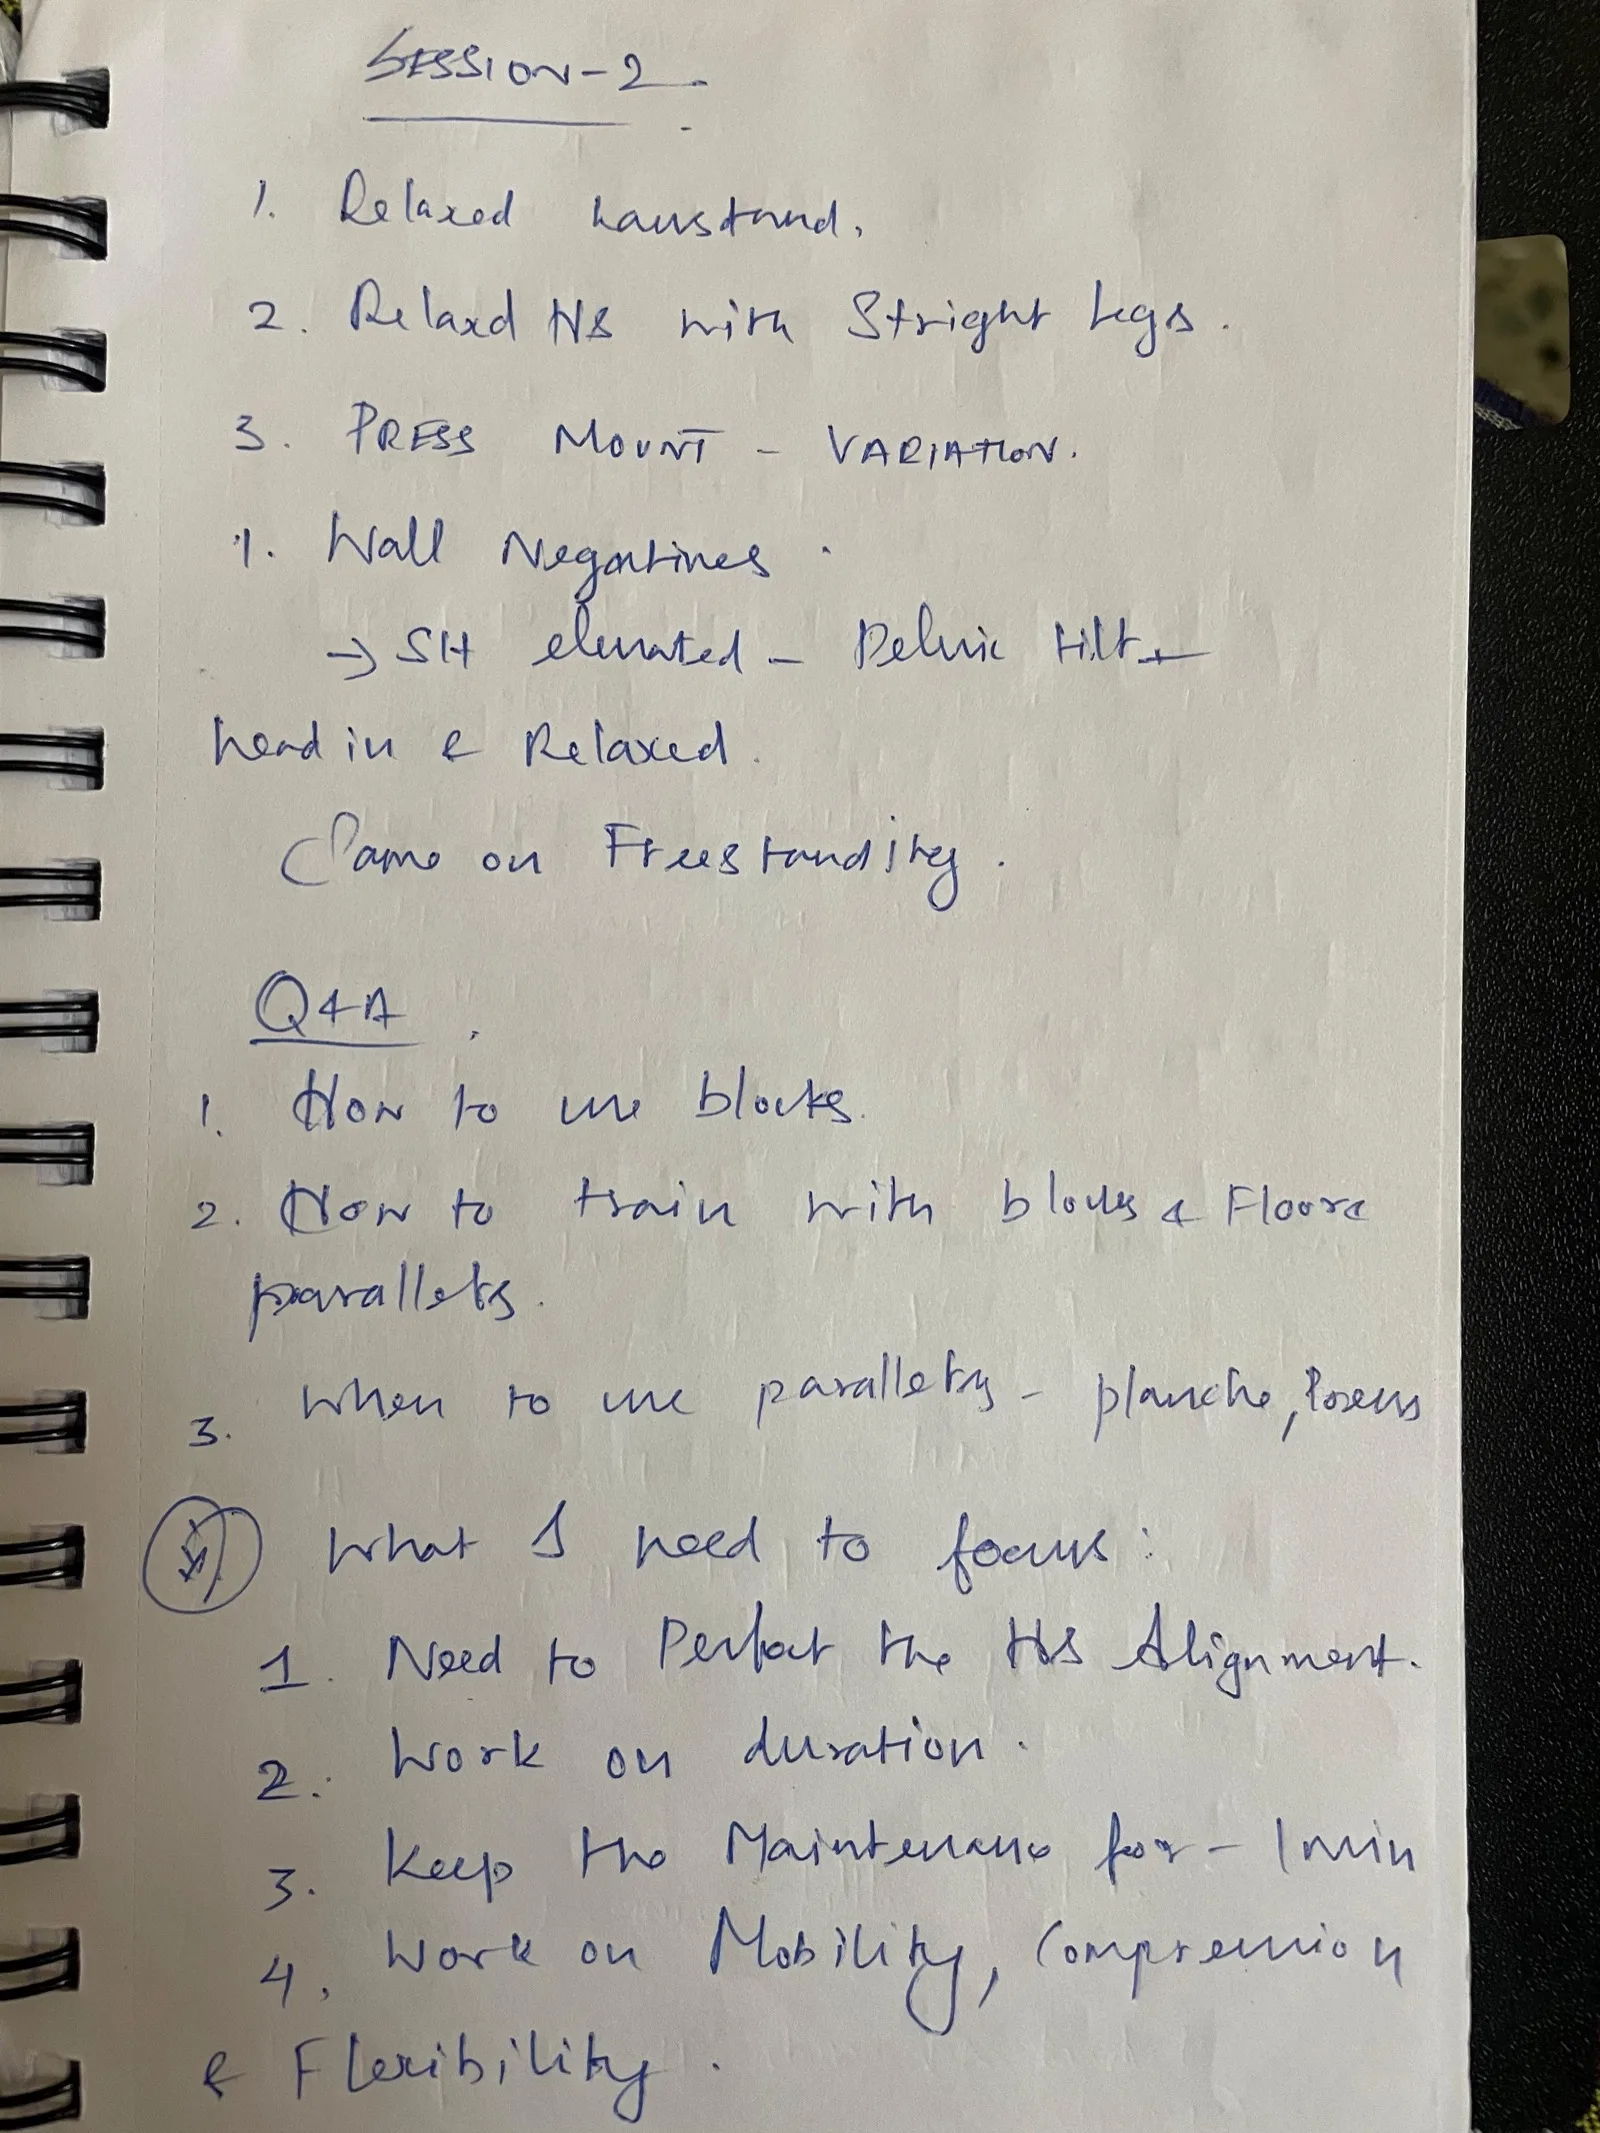
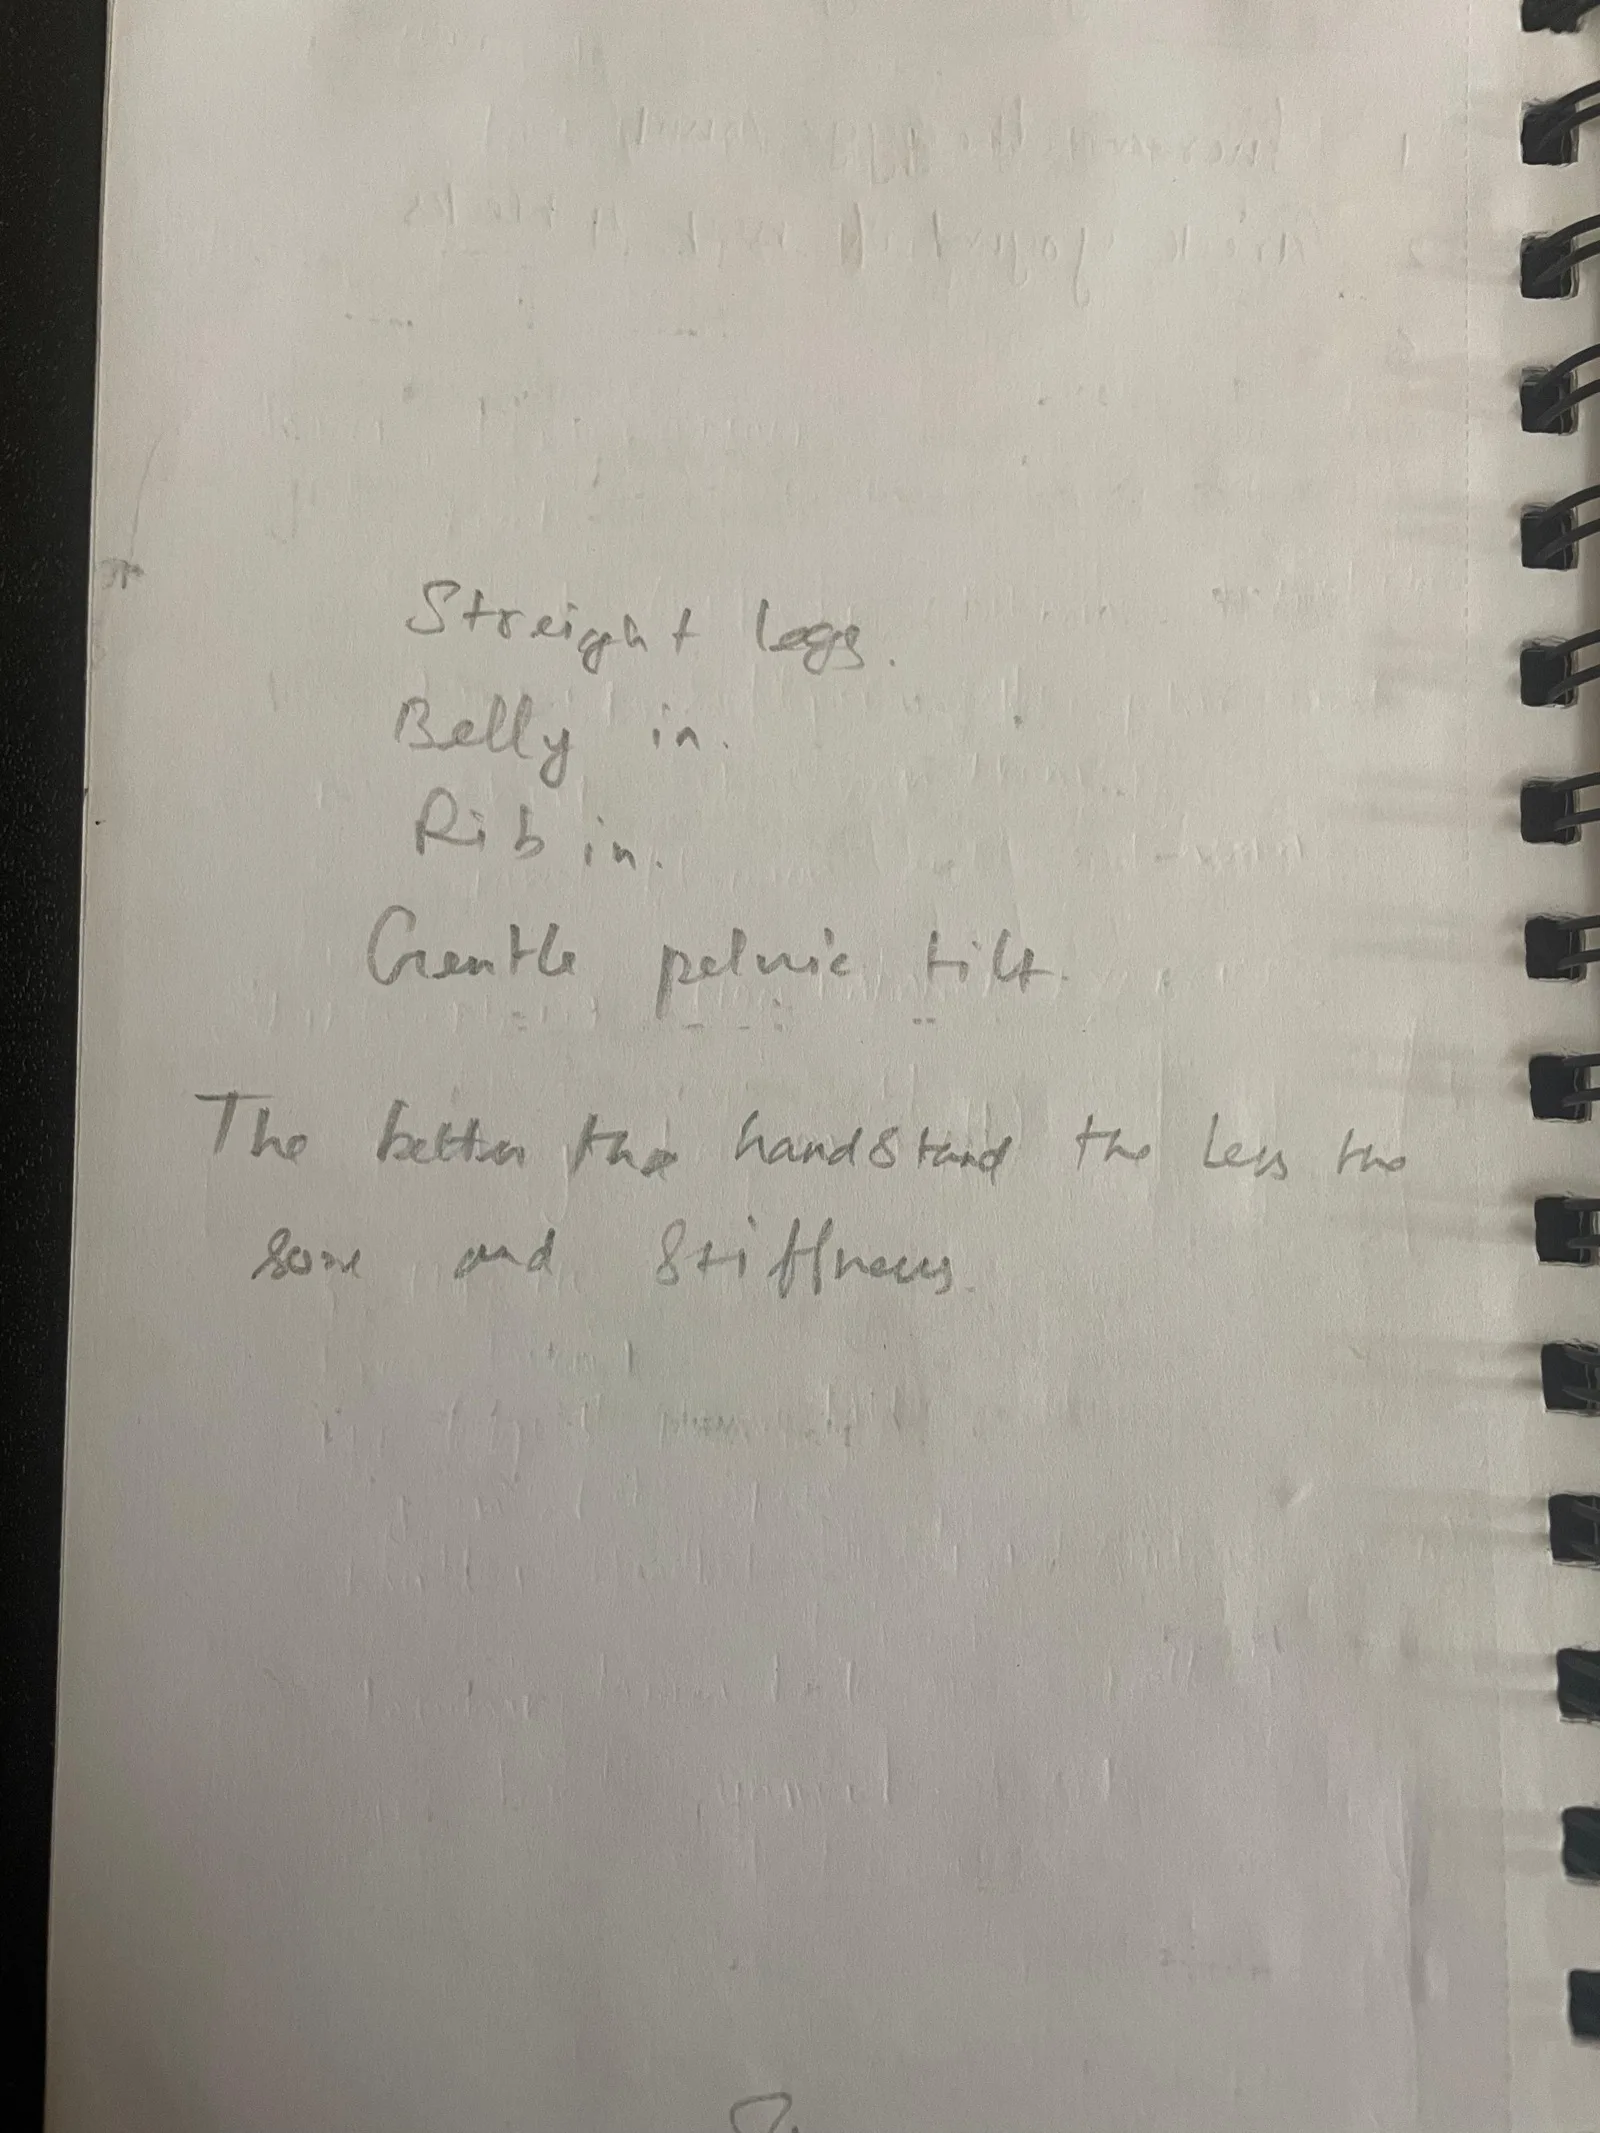
He did lots of alignment today
and mostly self practice.

We learned many
press handstand today and
understood what my level is exactly.

PRESS HS:
→ Hands little open to save the wrist
→ Legs close to the hand — the worst
  makes more lean forward, too away
→ Legs full extended, full pike
  position. SH full elevated and
  drive the hips
→ Do not try to jump & drive from
  the hip
→ Practice lots of negatives